
creation.
To create smooth arm animations I searched Plug ins or Scripts that can make animating easier for me, I found a plug in called Rubberhose 2.0. Another thing I did when creating these small animations / GIFs was change the layout of my dock to make it easier for me when editing the shapes.
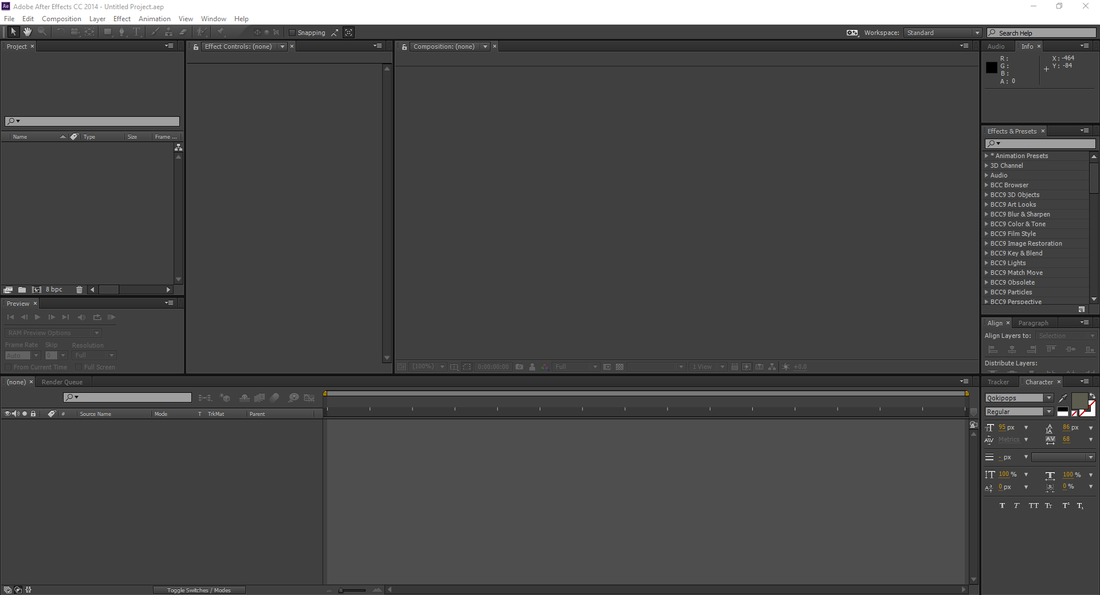
Default Dock
|
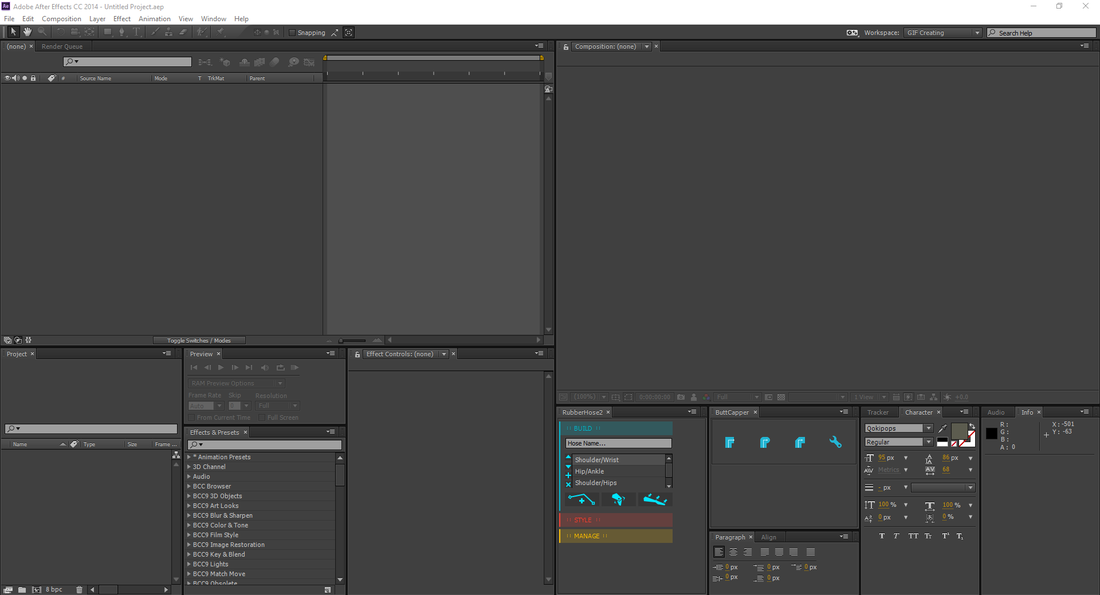
New Dock for Gif Animating
|
All the animations I created were created in the same way using just 2D shapes in After Effects.
When animating the arms I used Rubberhose, this creates an arm/leg/hose that can be animated/moved around very easily using guided layers. You can also change the look of the hose by changing the shapes content.
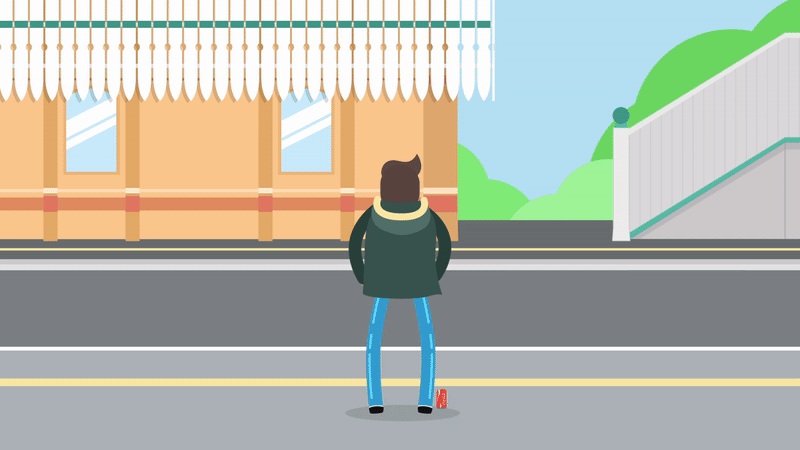
I will use the 'Journey Home' GIF as the example of how I created each GIF, I won't go through each one since they are all made very similarly using just shapes and Rubberhose.
When animating the arms I used Rubberhose, this creates an arm/leg/hose that can be animated/moved around very easily using guided layers. You can also change the look of the hose by changing the shapes content.
I will use the 'Journey Home' GIF as the example of how I created each GIF, I won't go through each one since they are all made very similarly using just shapes and Rubberhose.
The first thing I did was create the background, because the background was going to be moving I made the composition 5760x1080, which is 3 times 1920x1080. When creating the background I also made it so that the left side connected with the right side making the GIF loopable.
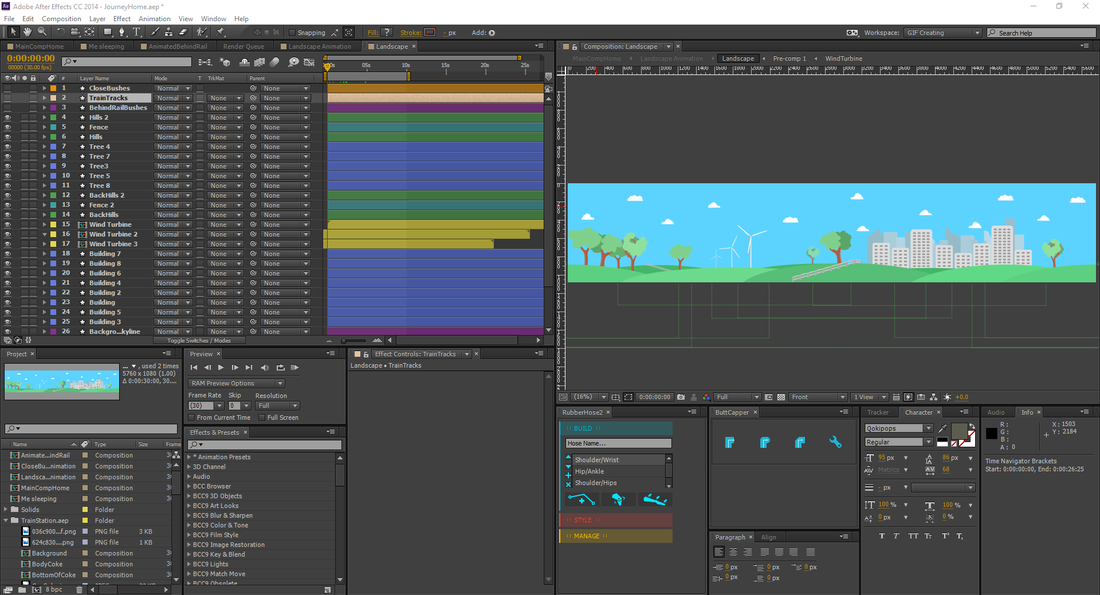
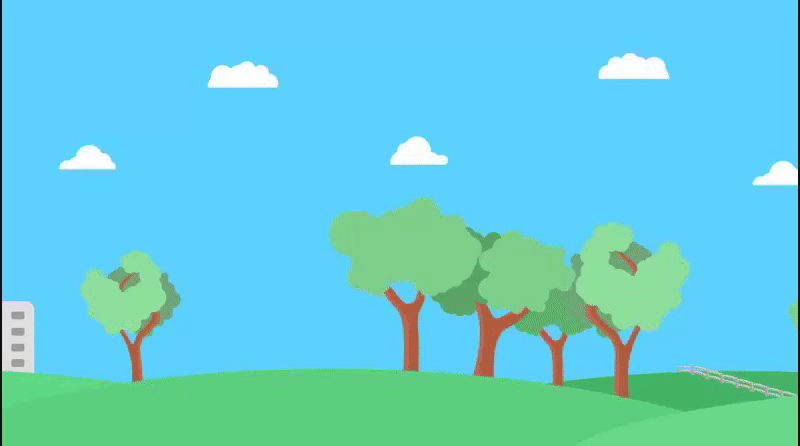
The trees were created by making lots and lots of circles bunched up together and in the same colour, the wind turbines were made with a mask tool where you can create your own shape. I tried keeping the background very clean so that it doesn't take your eyes off the main subject which is the train.
The only thing I animated in this precomp was the windturbines spinning, this was also the 1 scenery of 4. I wanted to create 4 different layers that would loop at different speeds to give the animation a depth. This background was going at the slowest speeds.
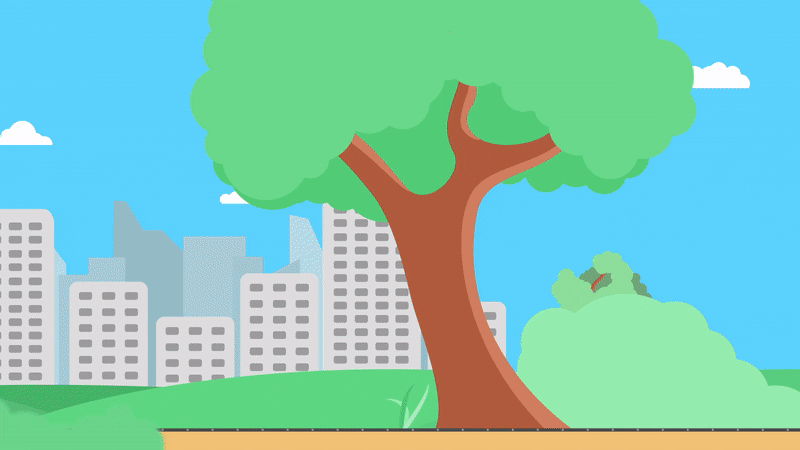
The next animation I created was the second scenery, this showed trees, grass and bushes. This precomp will travel faster than the landscape composition meaning it will loop a few times. Just like the landscape layer I had to make this precomp loopable so the left side of the comp had to be the same as the right side.
The only thing I animated in this precomp was the windturbines spinning, this was also the 1 scenery of 4. I wanted to create 4 different layers that would loop at different speeds to give the animation a depth. This background was going at the slowest speeds.
The next animation I created was the second scenery, this showed trees, grass and bushes. This precomp will travel faster than the landscape composition meaning it will loop a few times. Just like the landscape layer I had to make this precomp loopable so the left side of the comp had to be the same as the right side.
Main Landscape
|
Behind Train Scenery
|
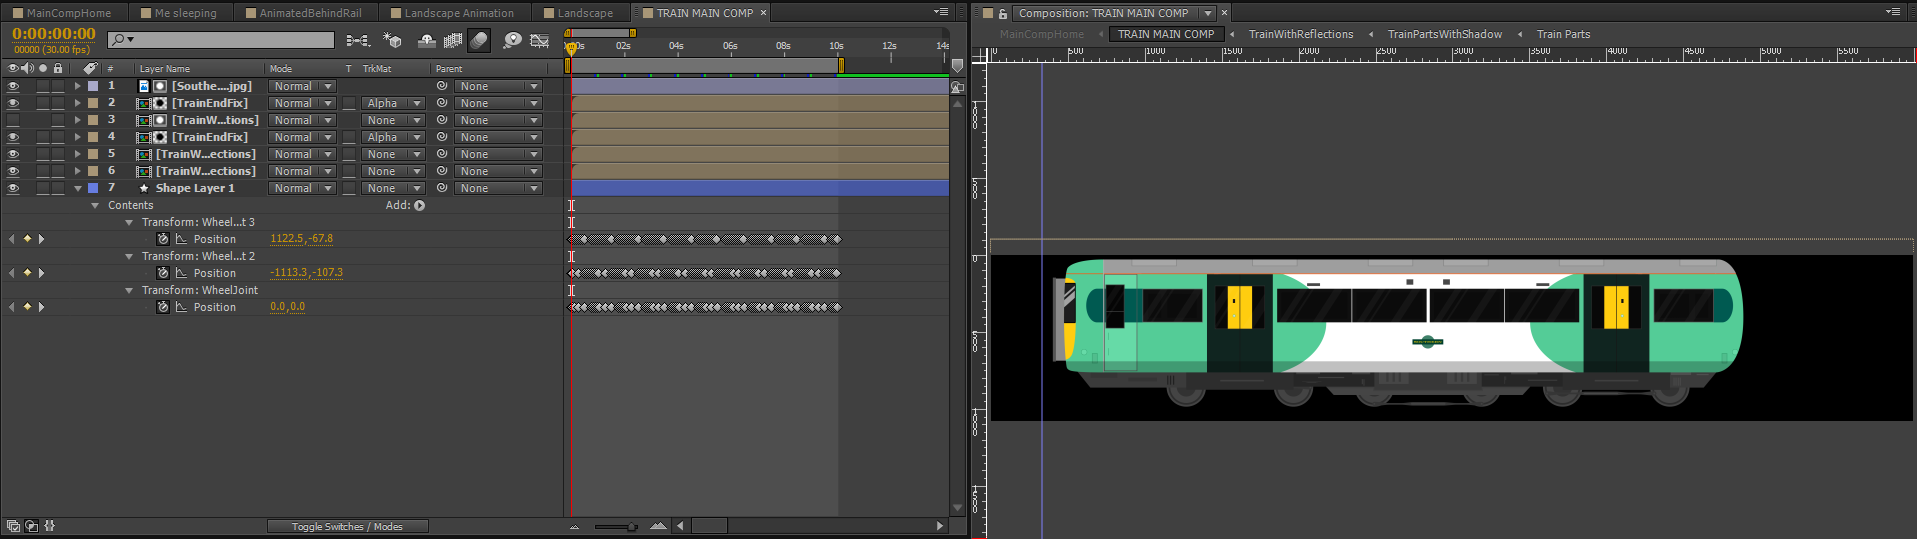
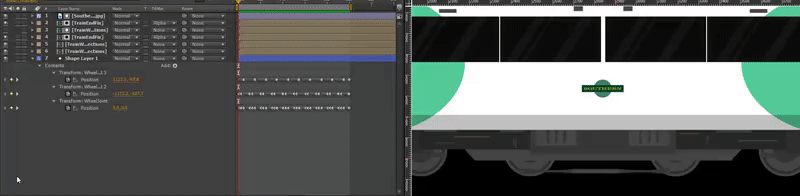
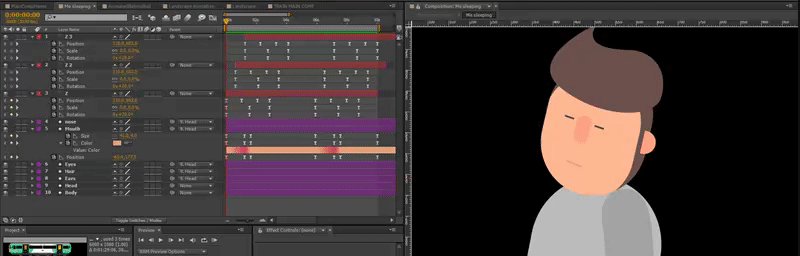
The train created for this animation was made out of lots and lots of shapes, I animated the wheels to move to make the train look more alive when it is travelling in the animation. I also made the windows transparent so that when I put my character in the composition you can see him through the window. And you will be able to see the landscape through the window as well.
When creating my character I made each part into pieces, I started off by creating the head and the body to get the right size and measurments. After creating the body and head I masked the hair and added the rest of the facial features. The animation for the sleeping was very simple, all I did was animate the position of the head, arm and body to give that heavy breathing effect and animated the size/colour of the mouth to make the mouth look like it is opening when I am snoring. When the train is moving it is very difficult to see my character snoring, so to show that my character was asleep I added "Z's".
Last thing I did was add a few more bushes as a closer scenery just to give the animation more of a fast movement, I blurred these bushes as well to give the animation a depth. I also placed each Precomp into the main comp and animated the positions of each comp, I made the train speed very smooth, I didn't want to give it a very stiff animation otherwise it wouldn't have flown with the rest of the parts very well.
Rubberhose.
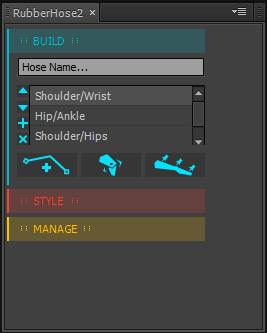
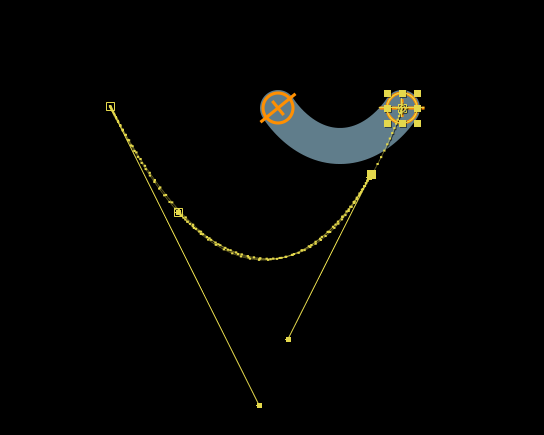
Rubberhose is very easy and simple to use, in the script you choose what the layer name will be and you choose wether it will be a Shoulder to wrist, Hip to Ankle, Shoulder to Hip or just a start to end. When naming and choosing your hose you press the "+". This will give you 3 layers, the bottom layer is the main hose, the 2 layers above are guide layers, these are used to help you move the ends of the hose.
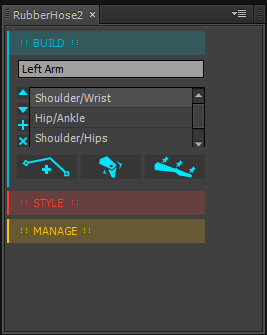
You can either stylize it yourself or you can use the scripts pre stylization, there are lots of different types of styles, each one is made for a different style of animation and for different parts of the body.
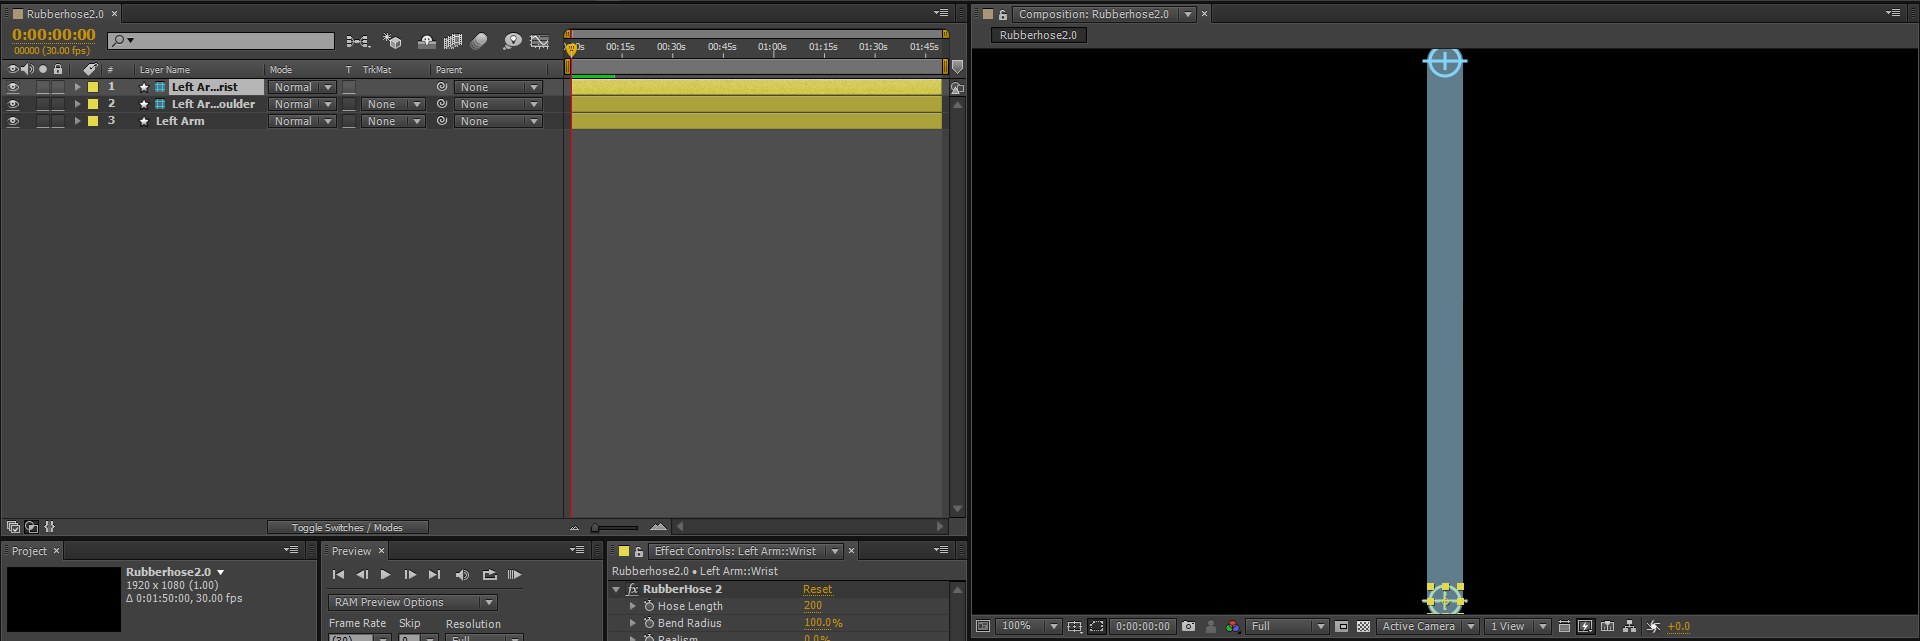
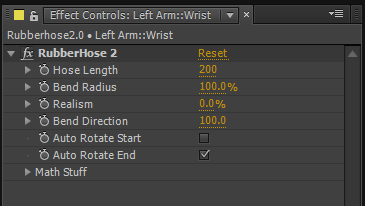
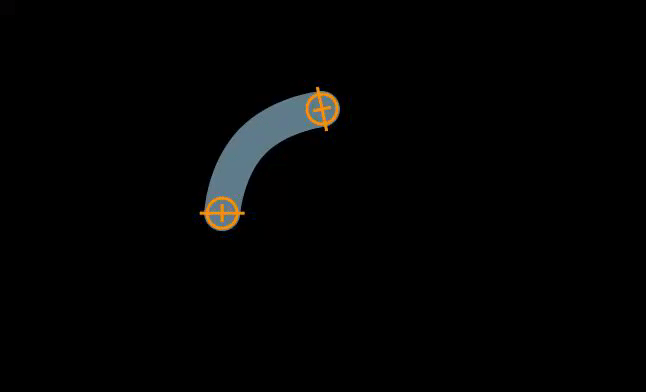
When you click on the top layer, in the "Effects tab" you can see an effect called Rubberhose, you can use these effects to change the length, realism, bend radius and bend direction. Each one can be animated to make your animation come alive.
Here is a quick example, I animated the arm swinging by changing the position of the of one of the layers, I then curved that position so that instead of going linear from A to B, it curves from A to B.
|
|
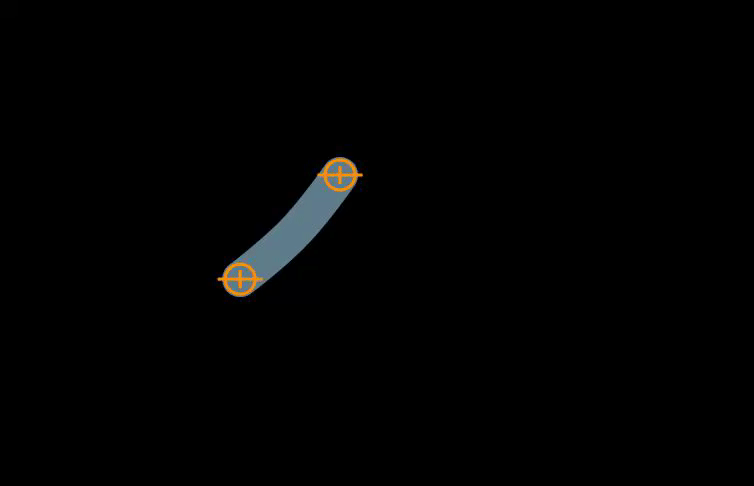
To make the swing smoother I used Easy Ease on the keyframes, this gives animations a smoother look.
The swing didn't look right at first, thats because when something swings it changes Bend Direction, so what I did was then animate the Bend Direction to make the animation look more realistic.
The swing didn't look right at first, thats because when something swings it changes Bend Direction, so what I did was then animate the Bend Direction to make the animation look more realistic.
Without Animating Bend Direction
|
After Animating Bend Direction
|
EACH GIF USED IN THE FINAL ANIMATION.
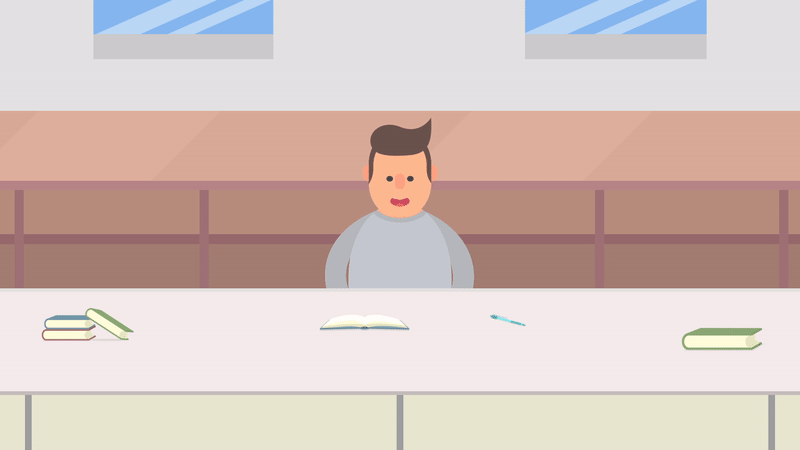
The last thing I did to complete the Book Narrative project was turn it into a book, so what I did was animate a book opening in the same style as the GIF's.
I wanted to animate the book 3D at the beginning, creating a 3D book with 2D layers was very difficult, you need to make each shape have the same perspective which is very difficult to do and you need to basically do it frame by frame.
The first thing I did was animate the book opening which took about 15 hours to do, since masking and changing the shape of each page took the most amount of time.
After animating the book, I animated pages flipping which didn't take too long to do since I just animated one page flipping then duplicated it to make it look like multiple pages.

Last thing I did with this animation was add a writing effect like I was actually writing in the book, the GIF's on the same page as the writing and last thing I added to make this all seem a little more realistic and less boring to watch was Music and Sound effects.
