
PHOTOSHOOT.
Camera used for the photo shoot: NIKON D3100 DSLR
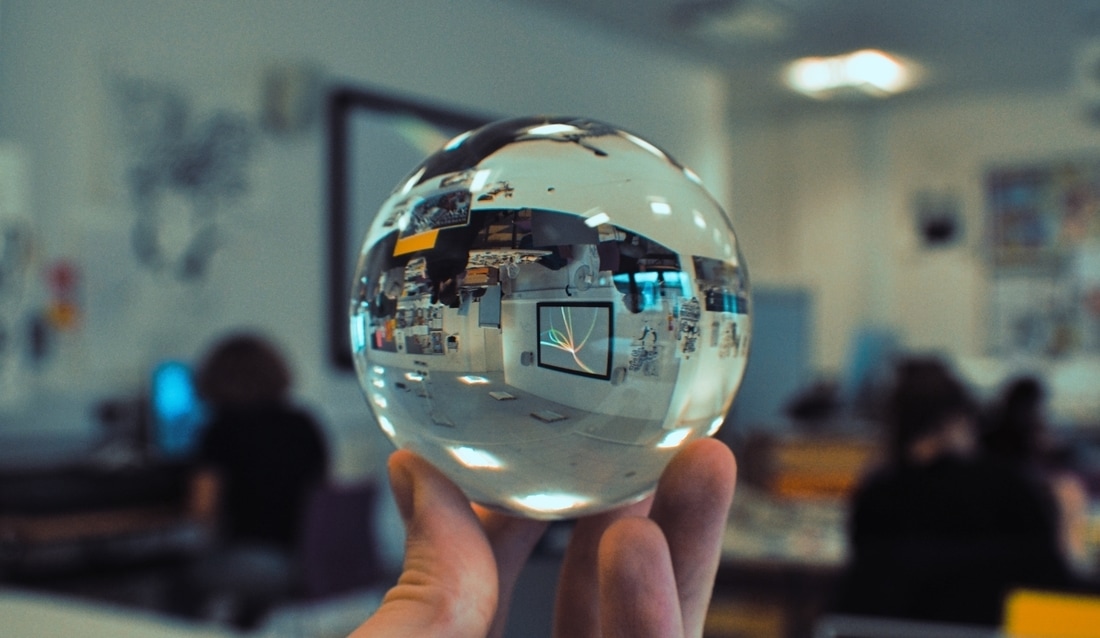
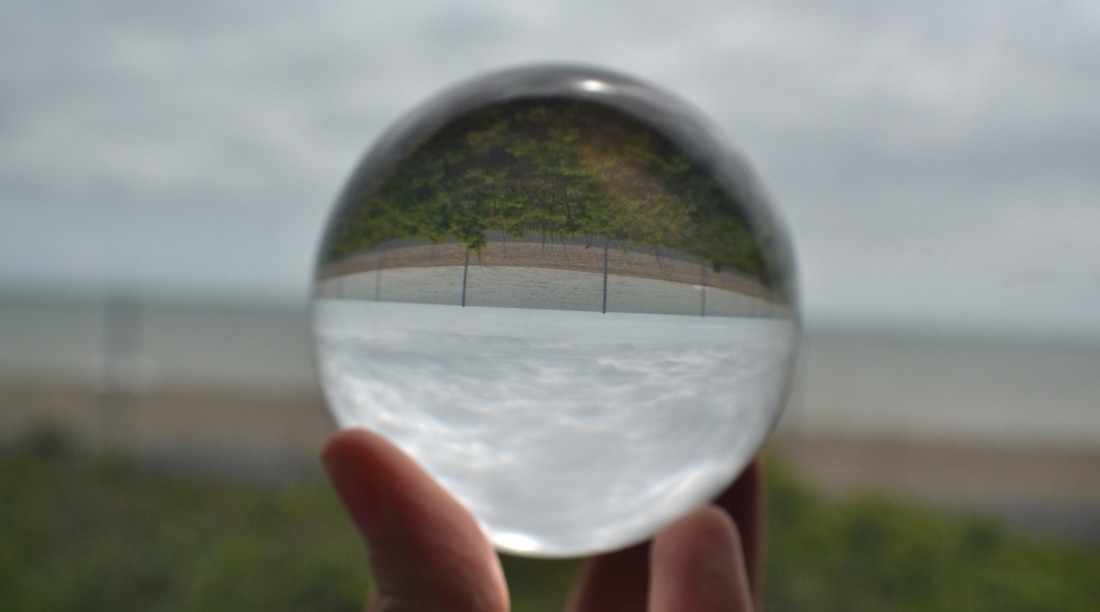
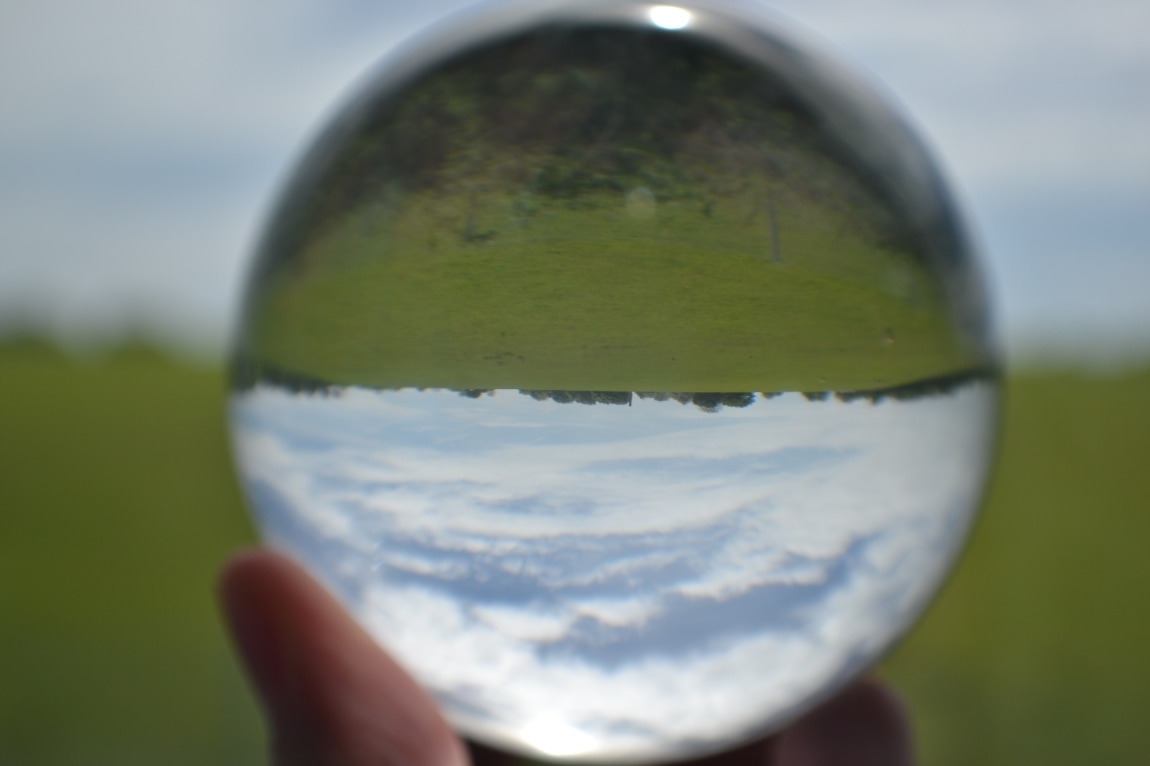
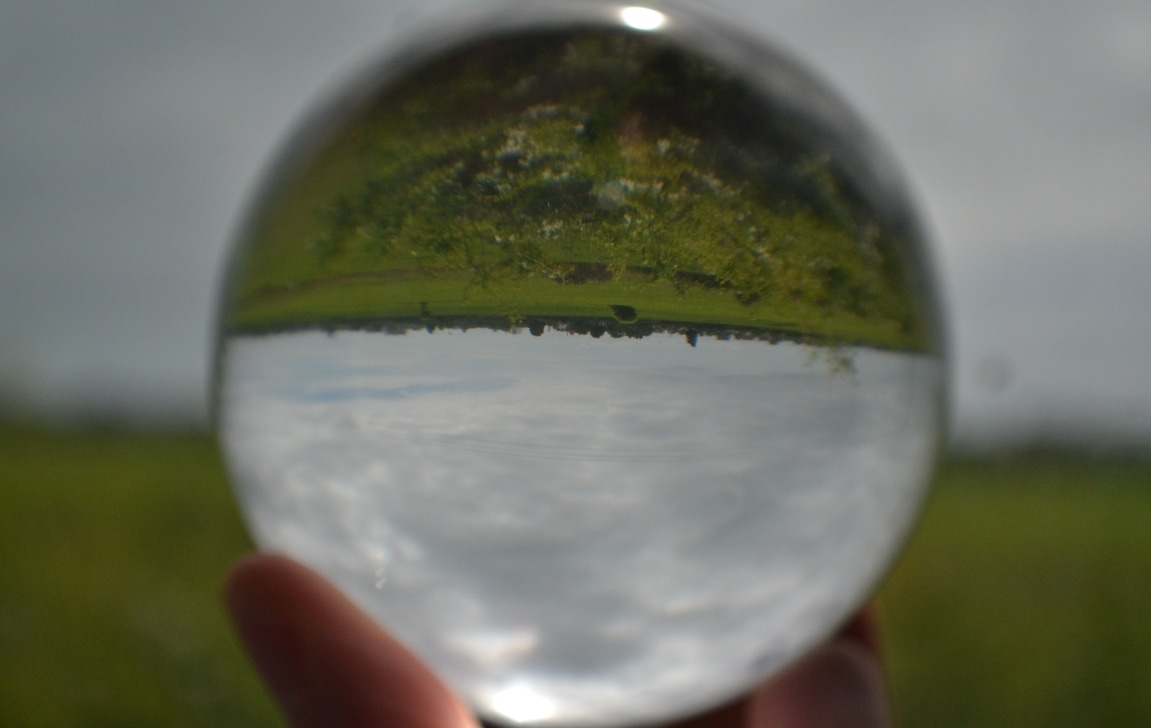
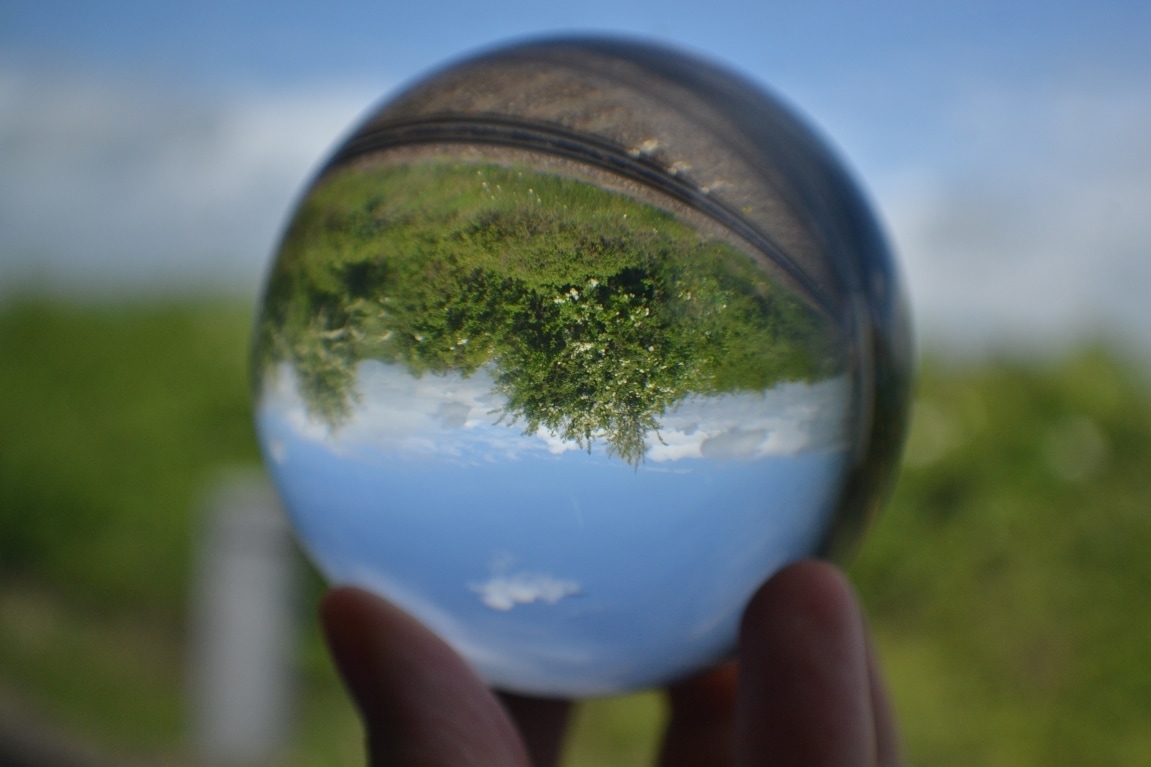
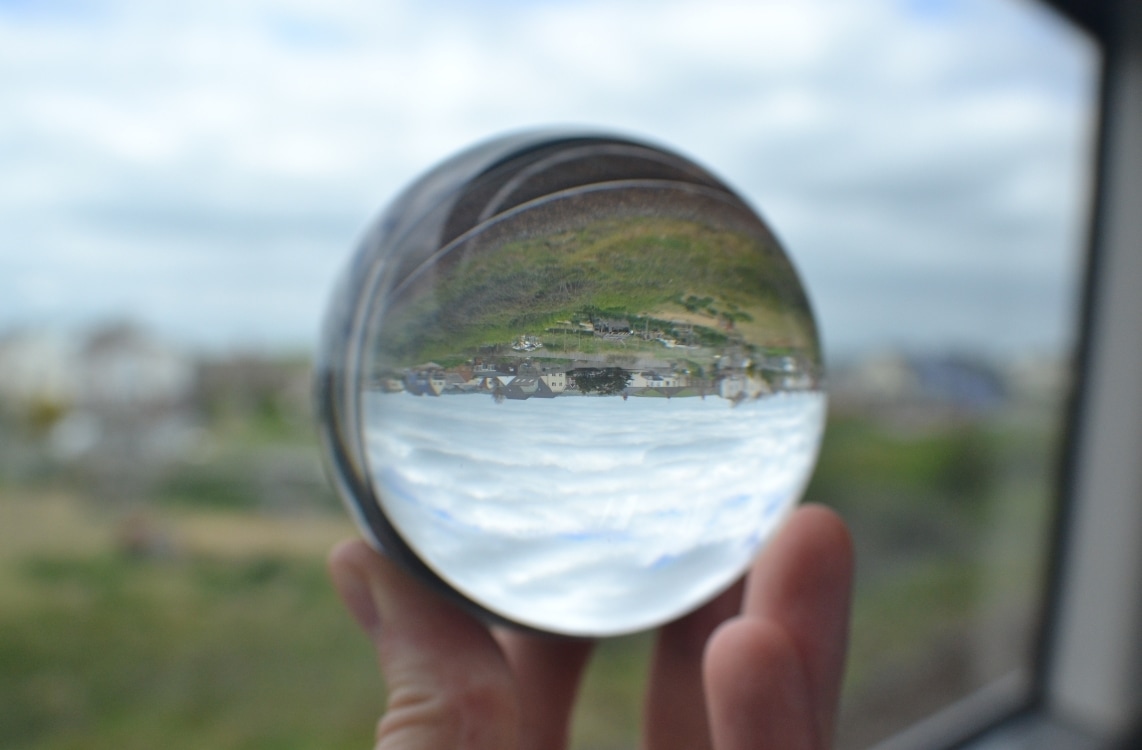
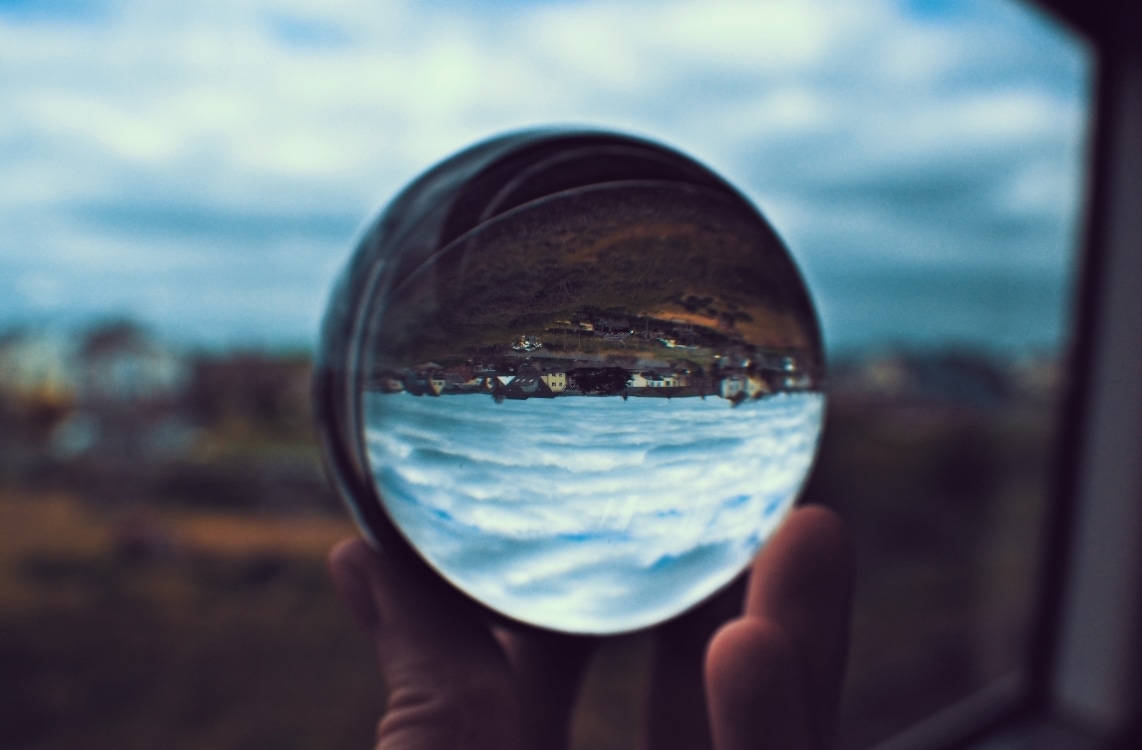
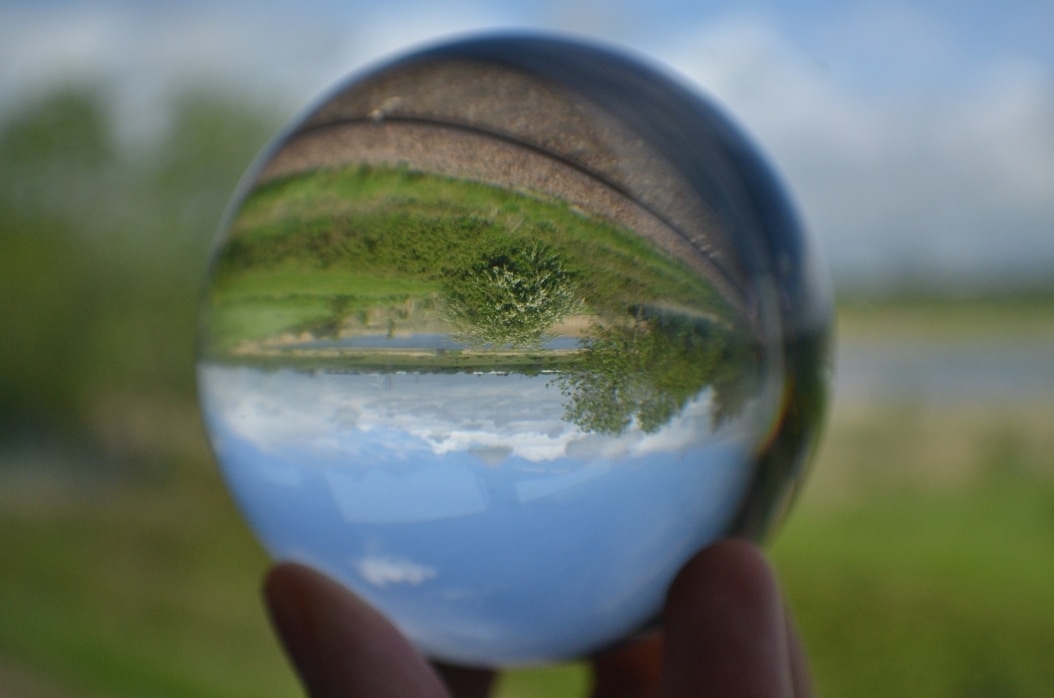
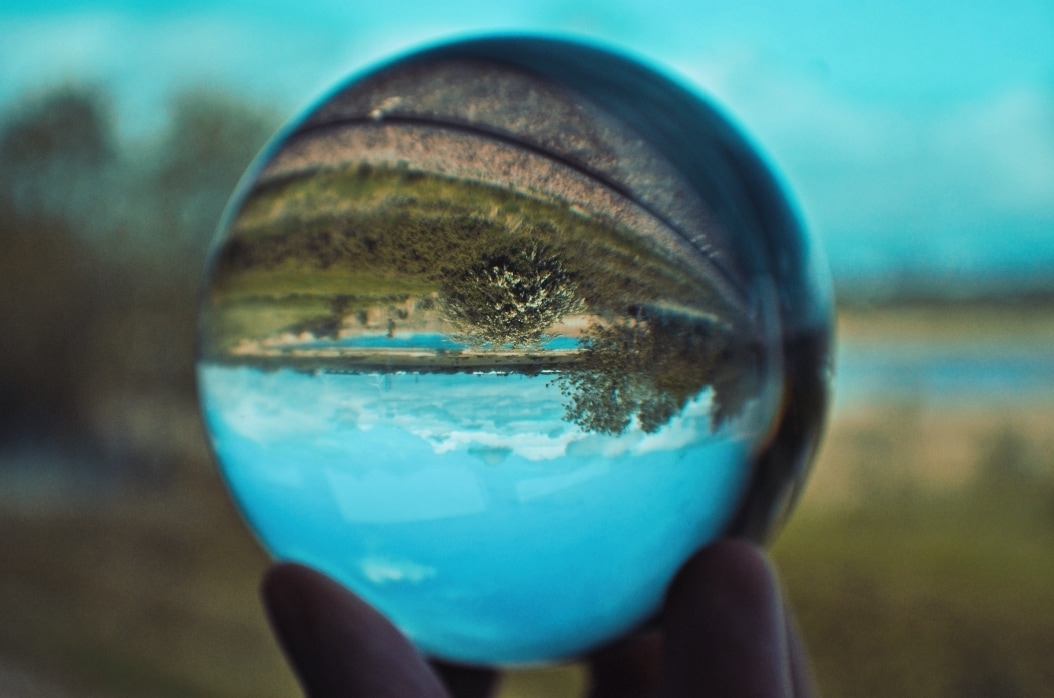
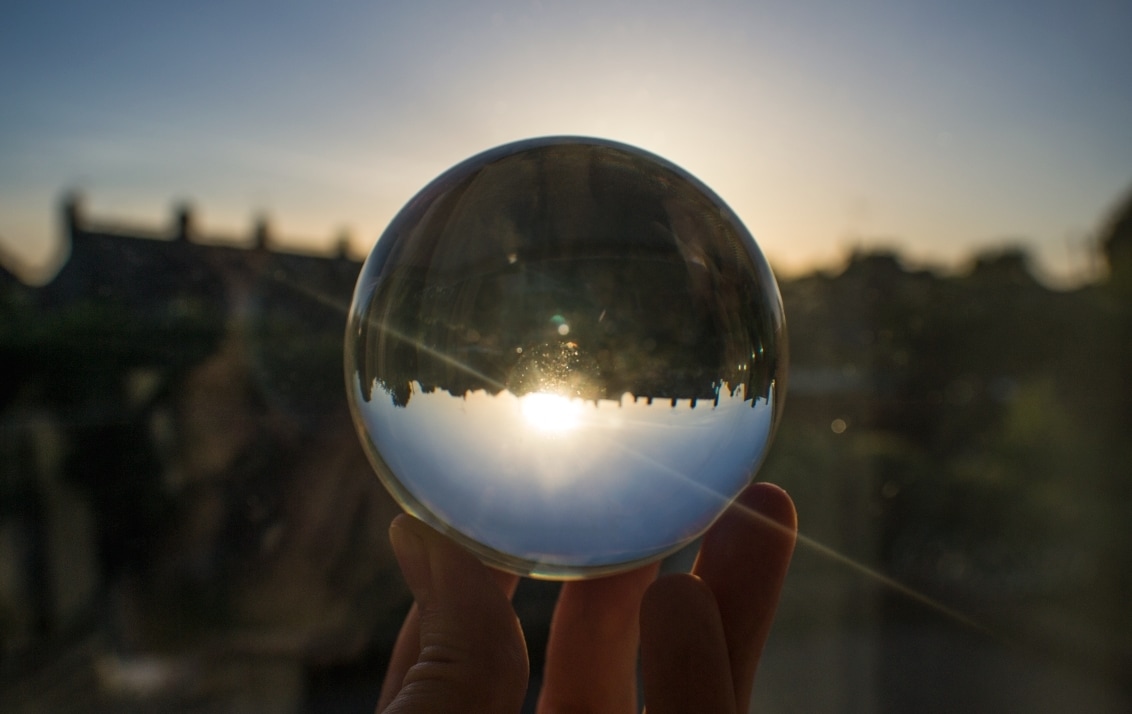
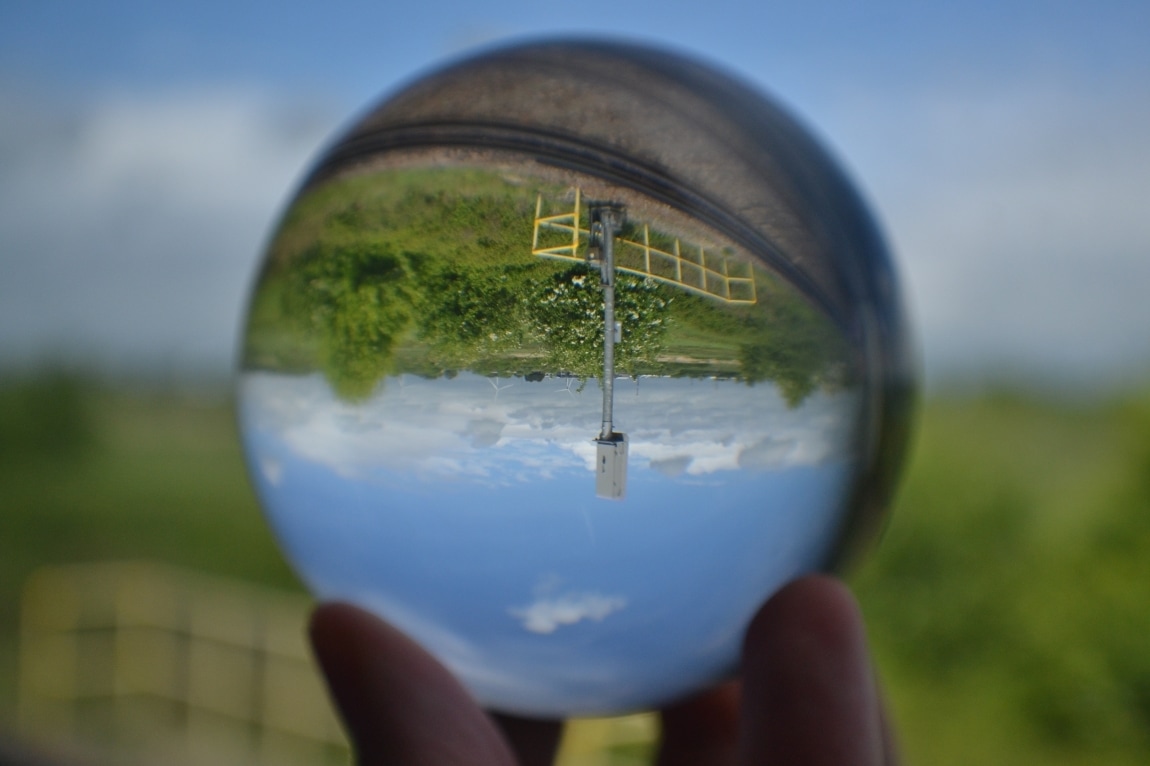
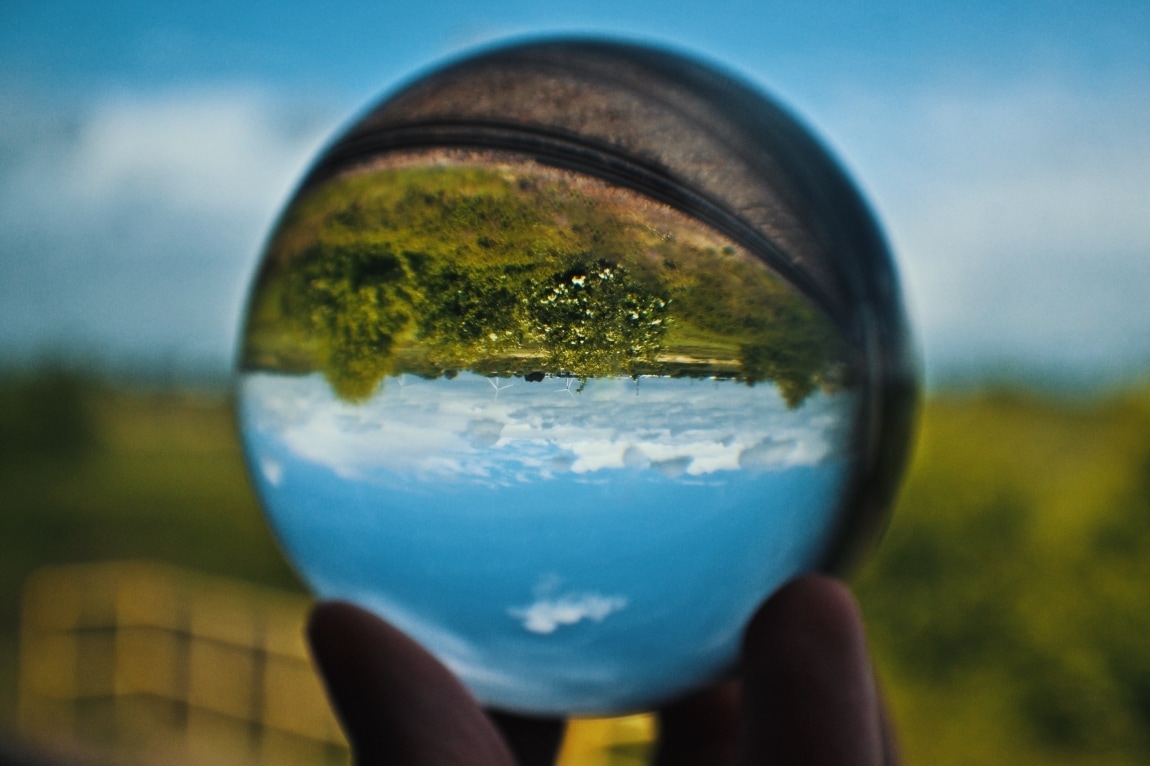
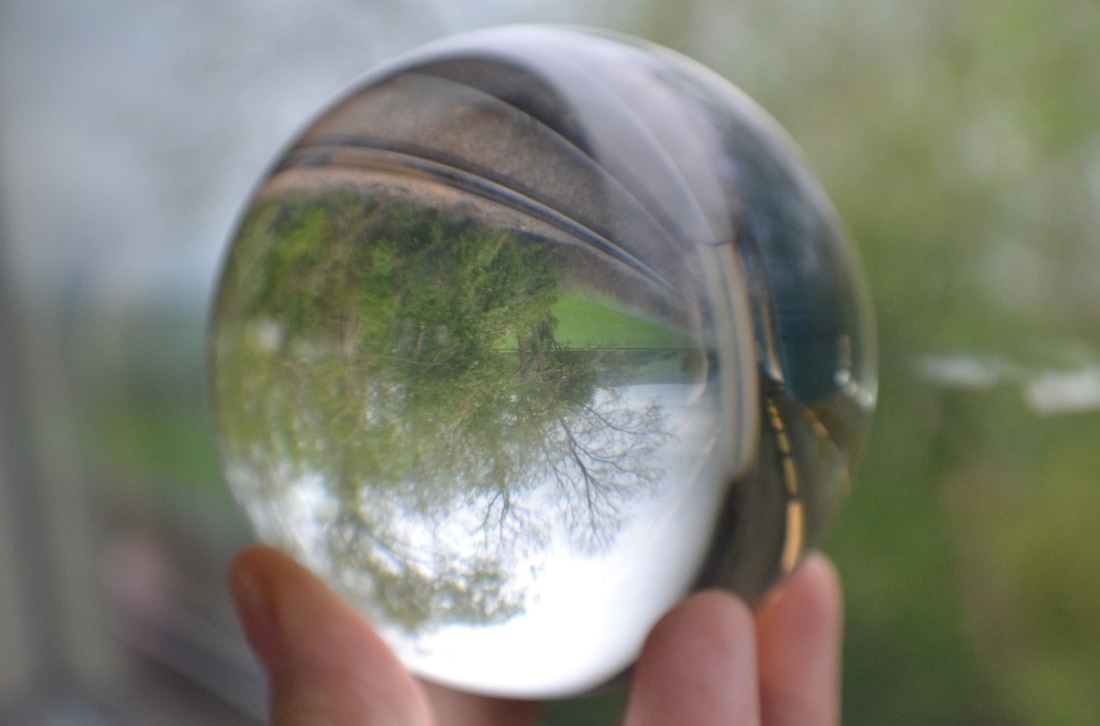
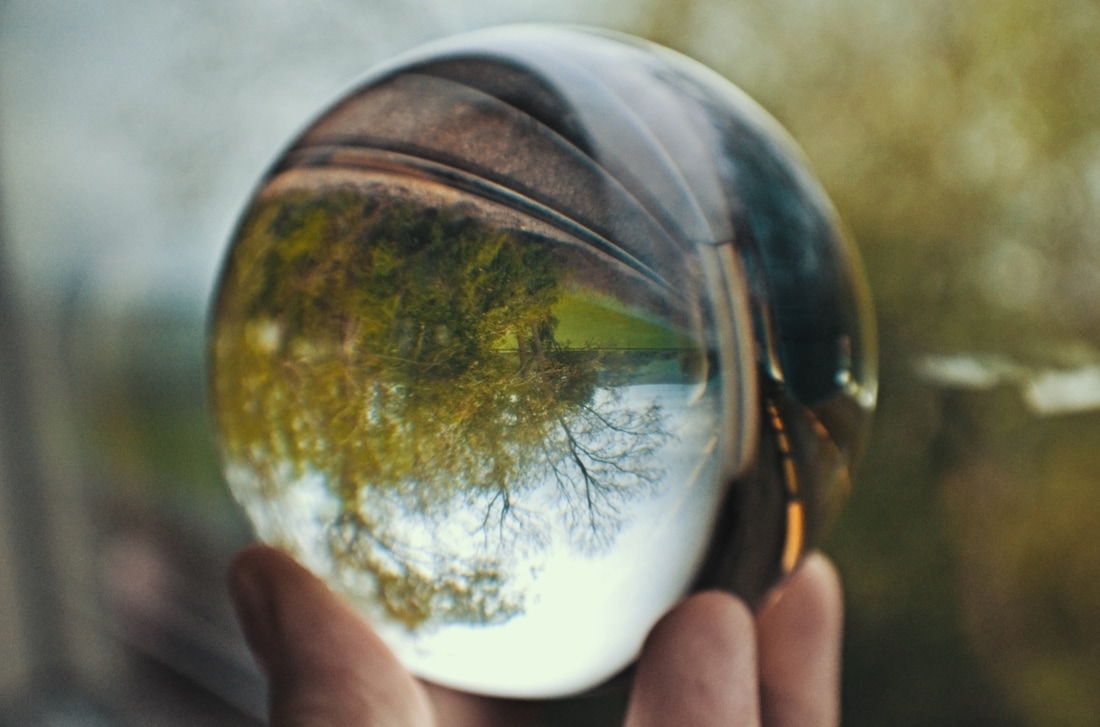
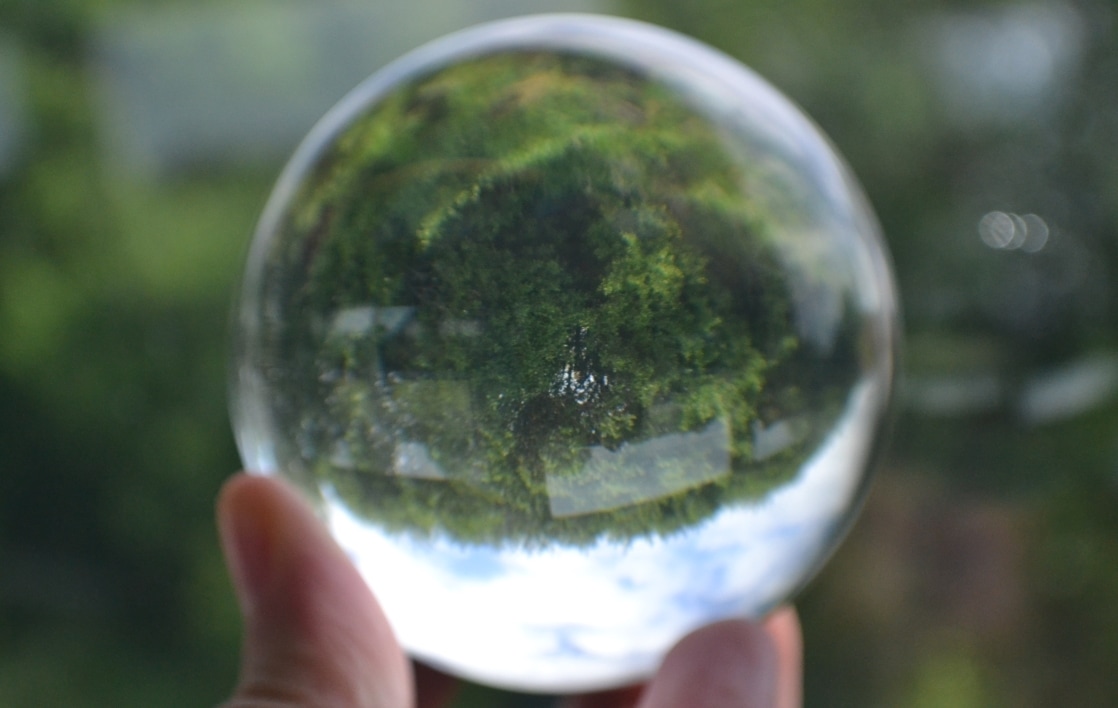
For my project I decided to take Crystal ball photographs, my aim was to create a journey from Home to University, linking to my Book Narrative project. I took many photos of the landscape/views through the train window, everytime I took a new photo in a different area it felt like I was in a completely different part of the country. For example one minute I would be taking photos of the green fields, and suddenly the train would be going along the coast. Because of this journey on the train it bought out a really nice outcome, and an accomplished narrative.
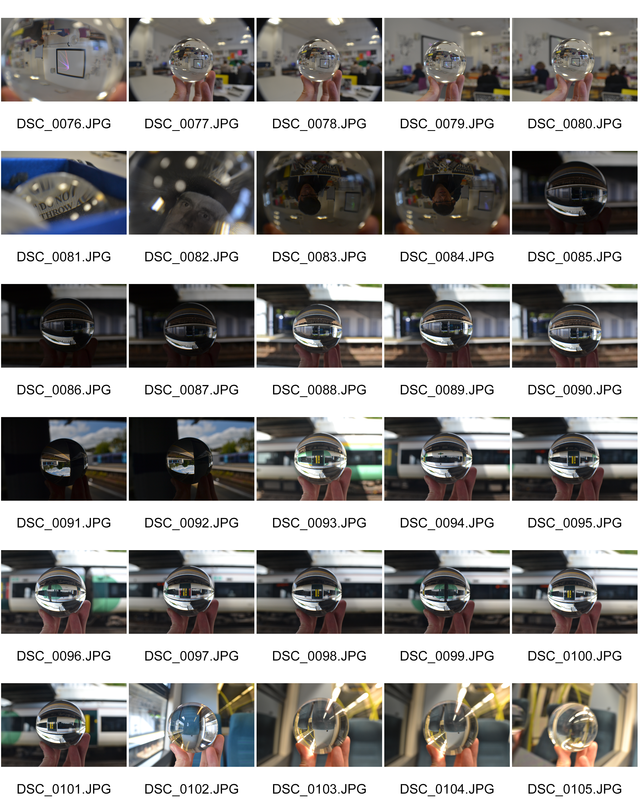
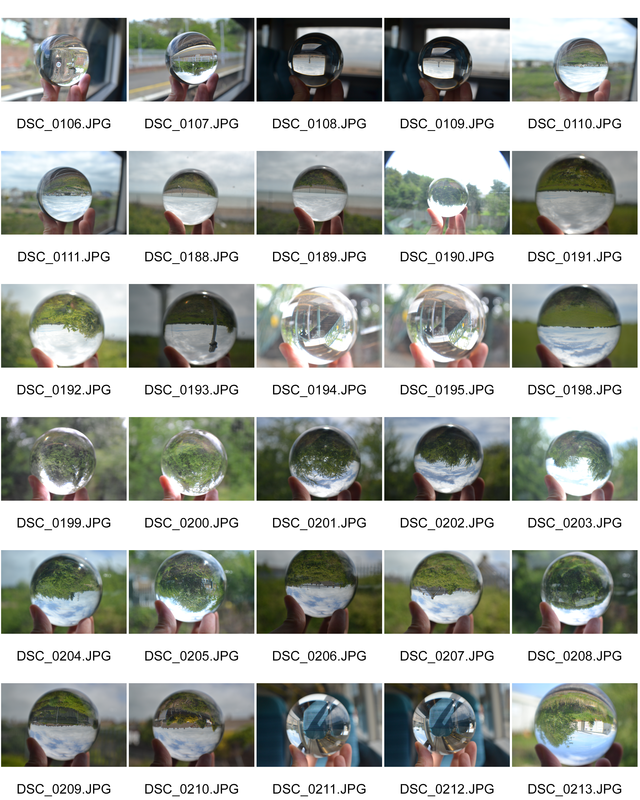
These next 3 pictures are contact sheets of my shoot, these show all the photos I took on the train. I layed it out like a contact sheet because its much easier to see all the photos than going through each photo one by one.
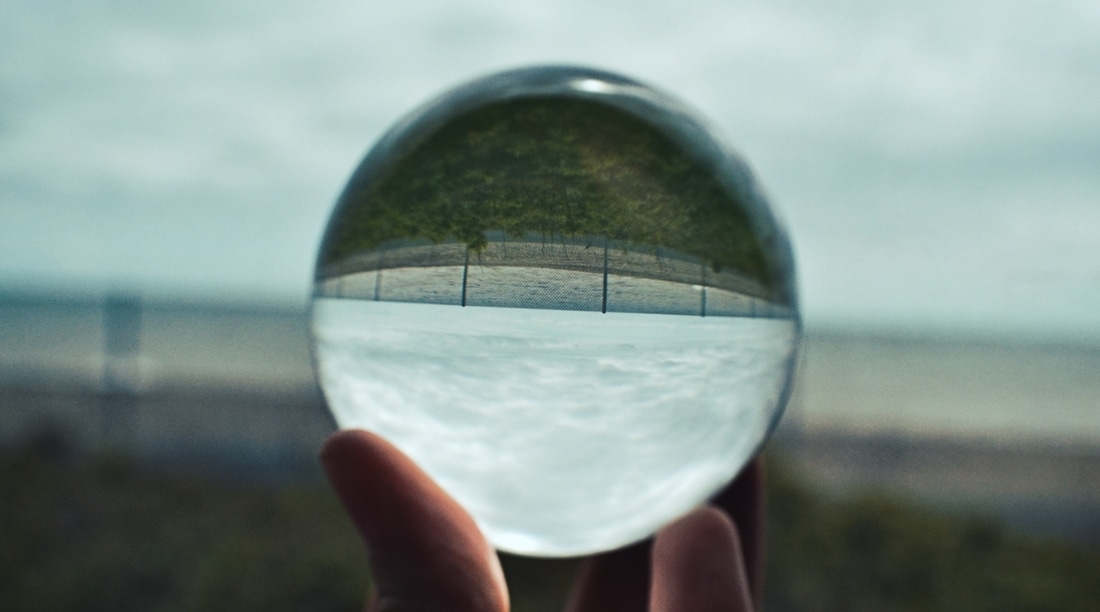
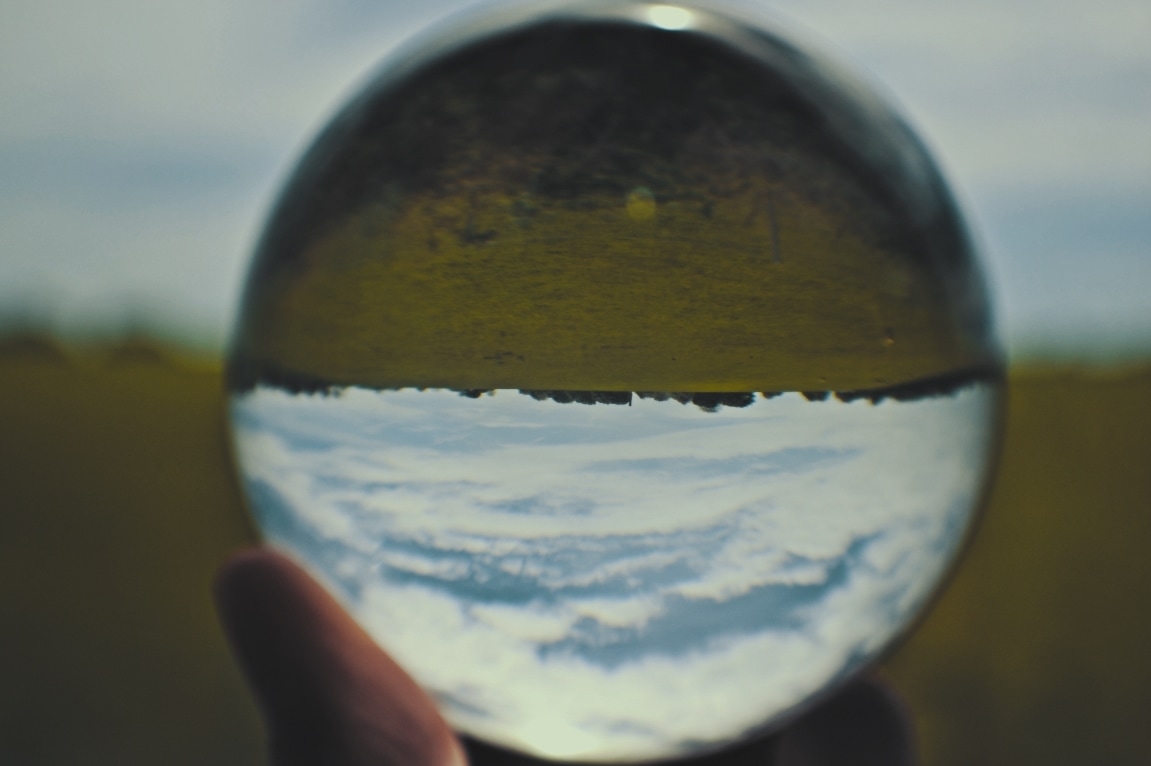
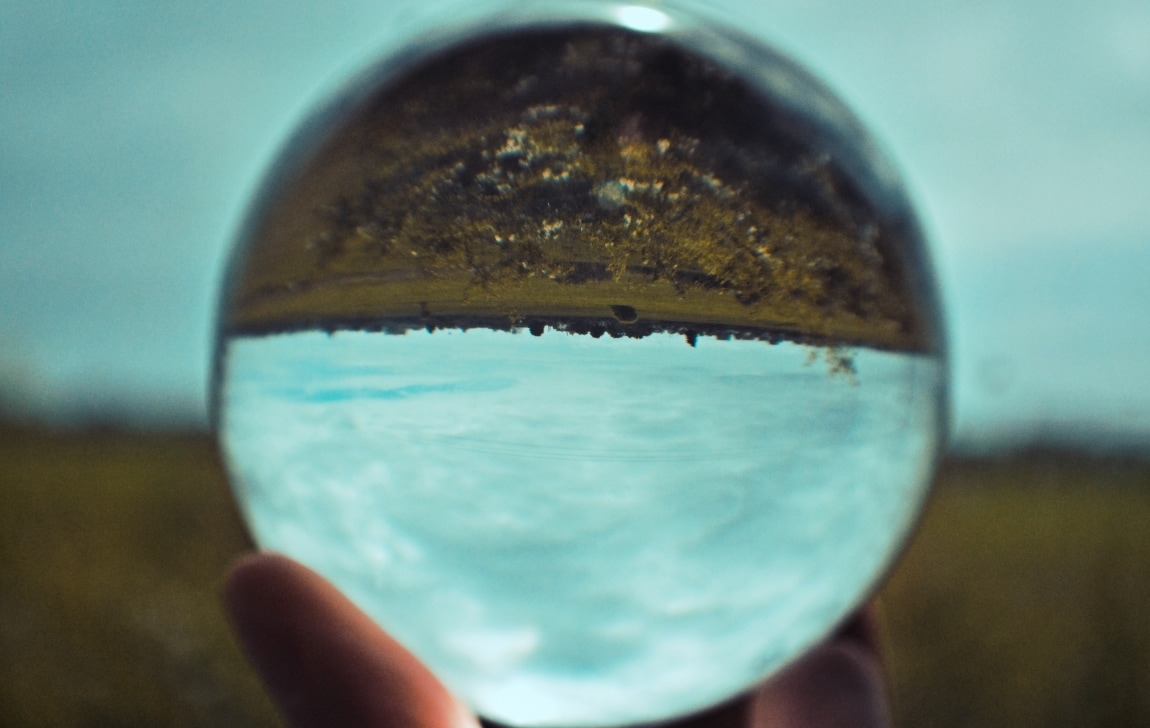
For my project I decided to take Crystal ball photographs, my aim was to create a journey from Home to University, linking to my Book Narrative project. I took many photos of the landscape/views through the train window, everytime I took a new photo in a different area it felt like I was in a completely different part of the country. For example one minute I would be taking photos of the green fields, and suddenly the train would be going along the coast. Because of this journey on the train it bought out a really nice outcome, and an accomplished narrative.
These next 3 pictures are contact sheets of my shoot, these show all the photos I took on the train. I layed it out like a contact sheet because its much easier to see all the photos than going through each photo one by one.
|
|

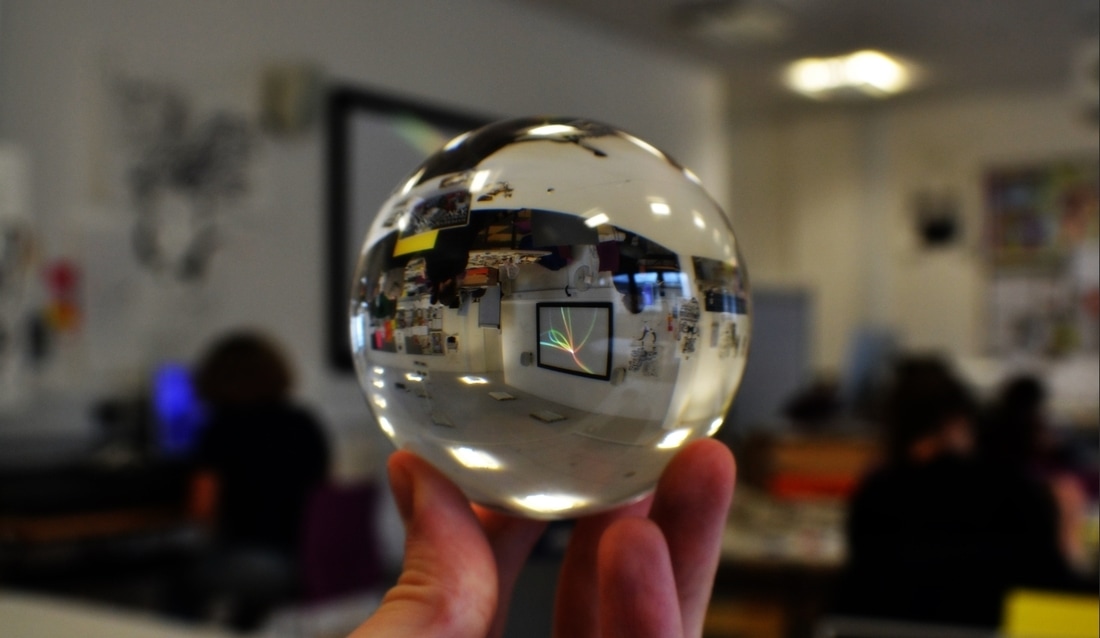
At first I wanted to shoot my project from when I wake up to when I go to sleep, so I wanted to photograph my train journey into Hastings and then my lectures at University, I started editing the photo shoots of me in the University classroom.
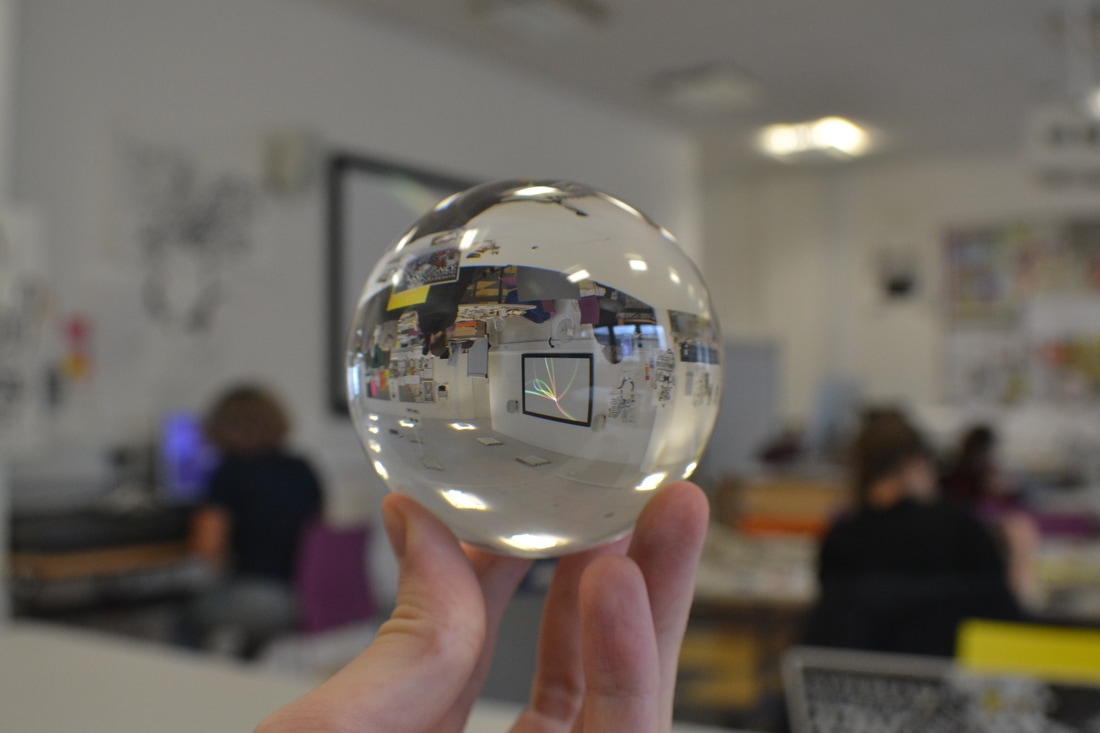
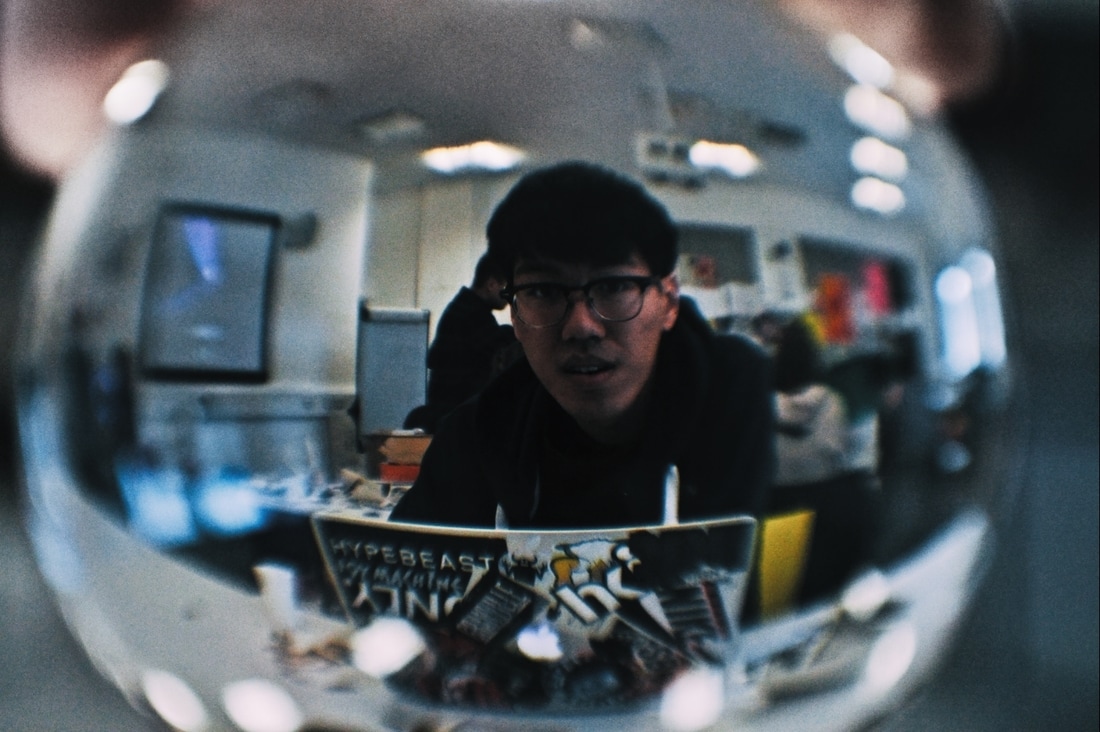
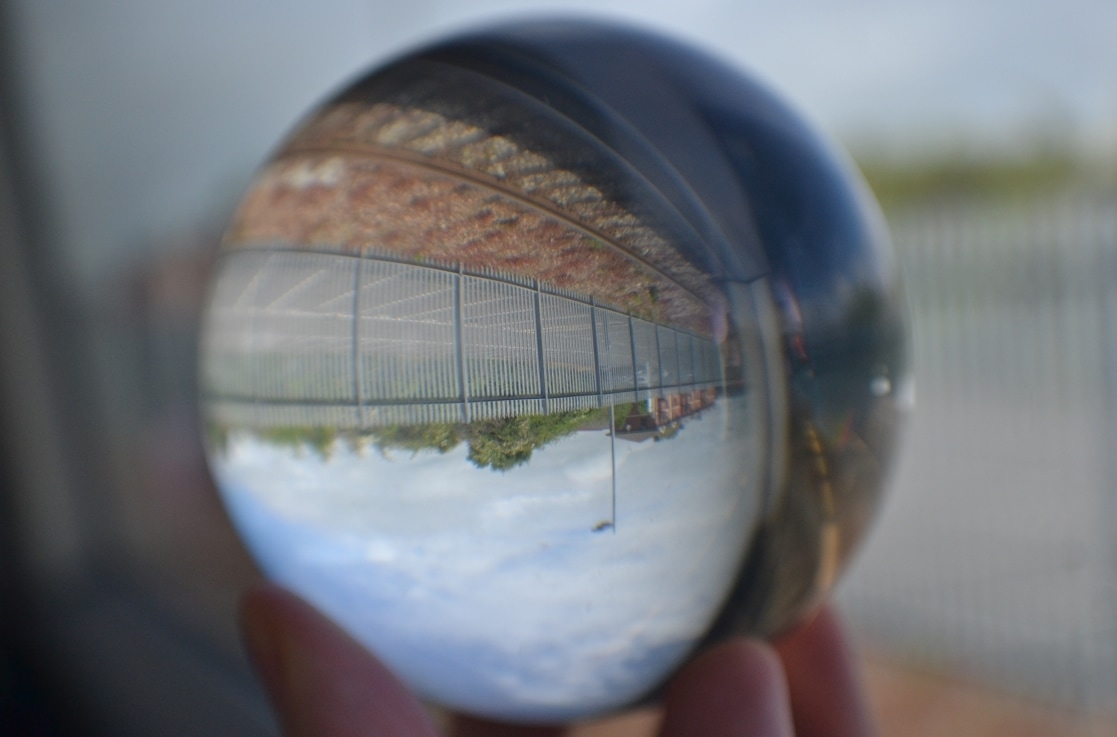
When taking the pictures I didn't think about what I wanted it to look like specificly, I just took the photo not knowing what was in the refraction.
The class room was very busy, people were doing work, there are lots of papers on the wall, lots of different things on the table so I was worried that it would be too mess in the picture. I was right about it being messy but it didn't ruin the photo too much, when looking at the photo you see people around the ball working, but when looking in the ball its very hard to see a lot of people, they are blended in with everything else when refracted through the ball.

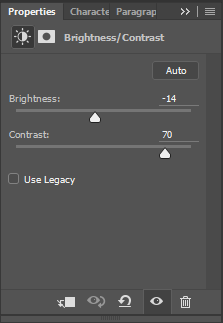
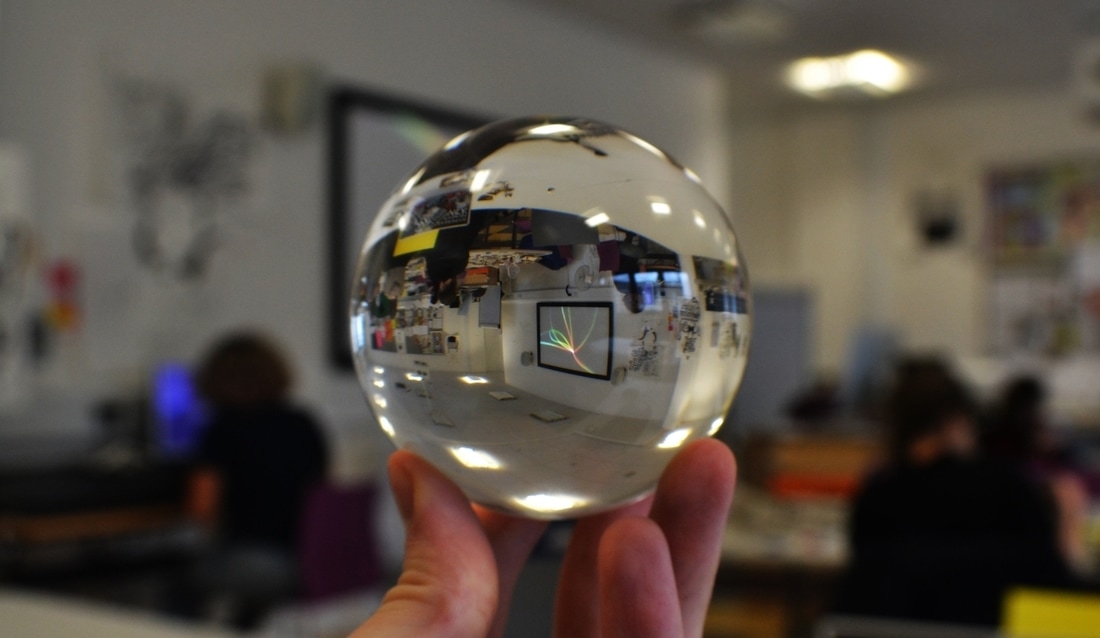
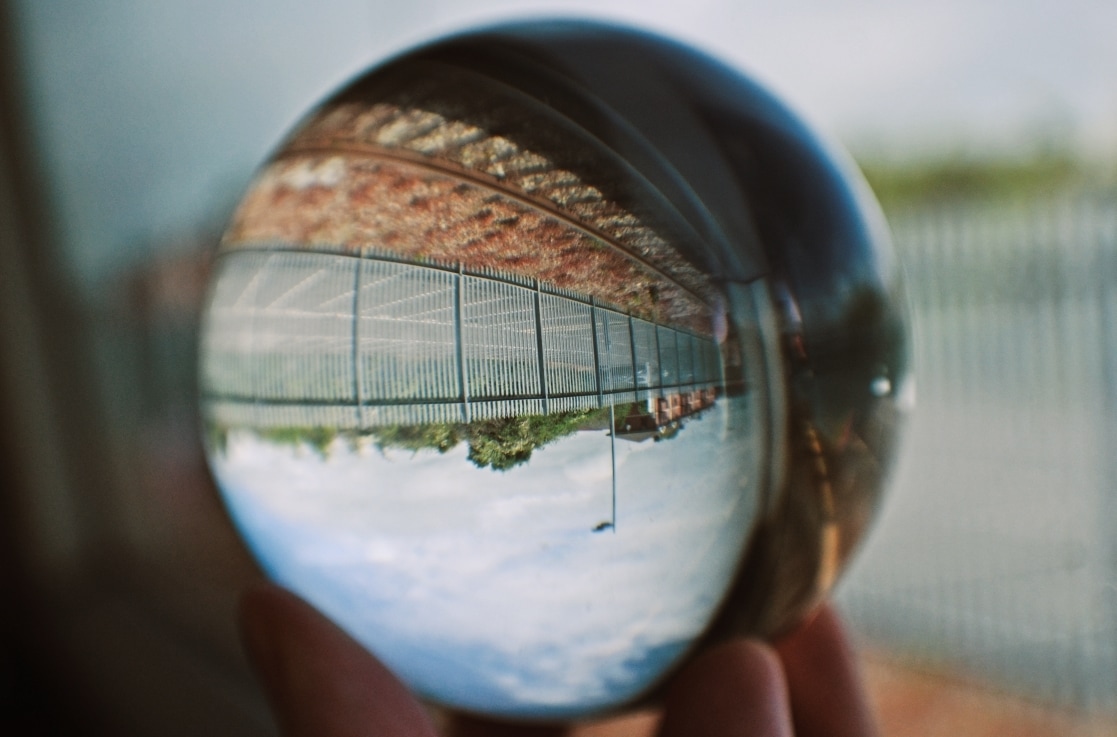
I edited each photo very similarly in Photoshop, I started off by changing the Contrast and Brightness to make the colours pop out a bit more.

|
|
I wanted to give the image a glow as well as it everything in the ball standing out more. So I duplicated and merged the effects together to create a single layer, a shortcut to do all this is 'CTRL - ALT - SHIFT - E'. I then added a 'Guassian blur' on the layer with a Radius of 10.0 pixels.

|

|
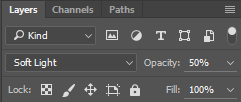
I then changed the layer type to 'Soft Light', this made the contrast very high so I turned it down a bit by changing the Opacity to 50%.
|
|
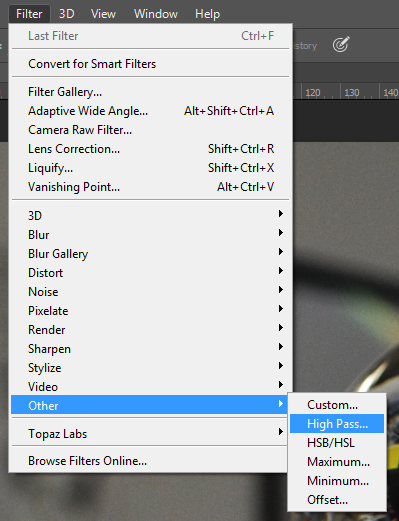
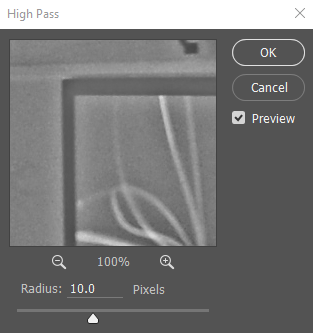
Now that the image is glowing a bit more, I need objects to stand out more meaning I need to add a Sharpen on the top, but I don't actually add a Sharpen filter.
I duplicated and merged layers together again using 'CTRL - ALT - SHIFT - E', I then turned the saturation all the way down. Instead of adding a Hue and Saturation, I pressed 'CTRL - SHIFT - U', this automatically turns the saturation down. To add the sharpness to the image I added a 'High Pass' filter to it with a Radius of 10 pixels.
I duplicated and merged layers together again using 'CTRL - ALT - SHIFT - E', I then turned the saturation all the way down. Instead of adding a Hue and Saturation, I pressed 'CTRL - SHIFT - U', this automatically turns the saturation down. To add the sharpness to the image I added a 'High Pass' filter to it with a Radius of 10 pixels.
|
|

As you can see it darkens the shadows more meaning it sharpens the object a lot more as well while still keeping that glow that I did earlier.
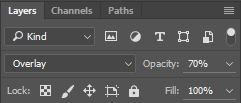
To makes this image look right instead of grey, I changed the layer type to Overlay and turned the opacity down to 70%.
To makes this image look right instead of grey, I changed the layer type to Overlay and turned the opacity down to 70%.

|
|
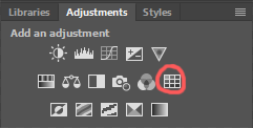
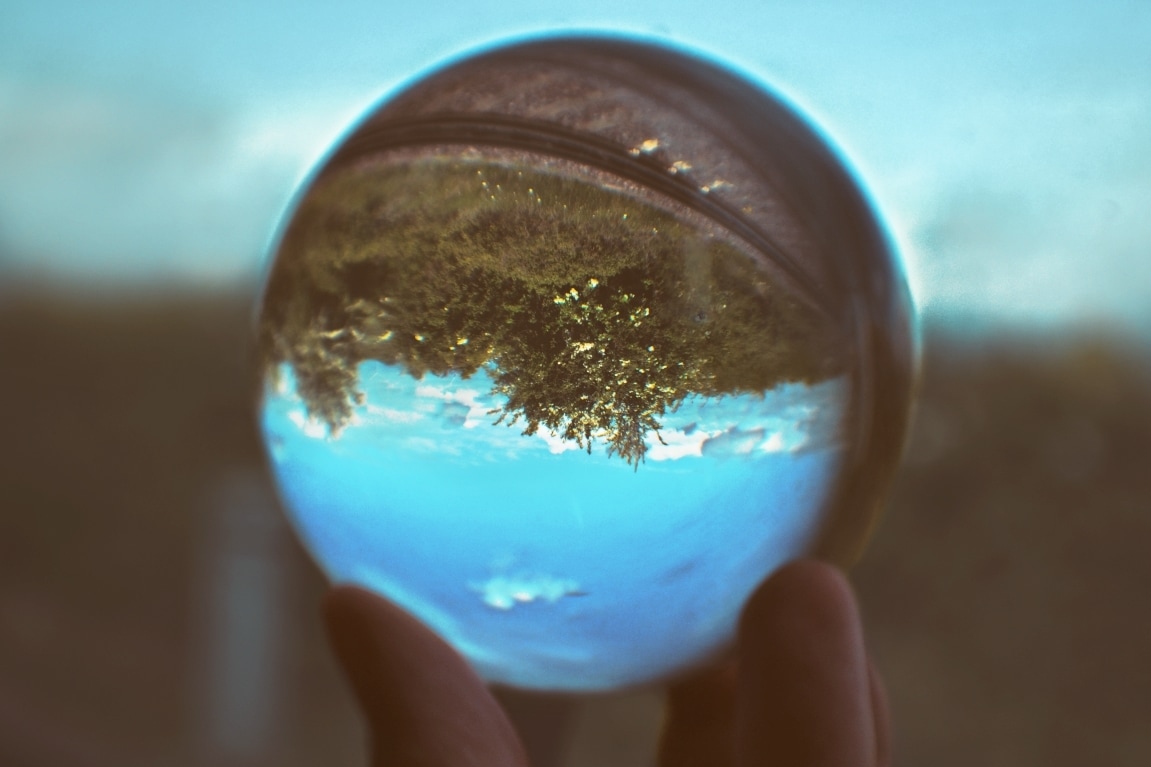
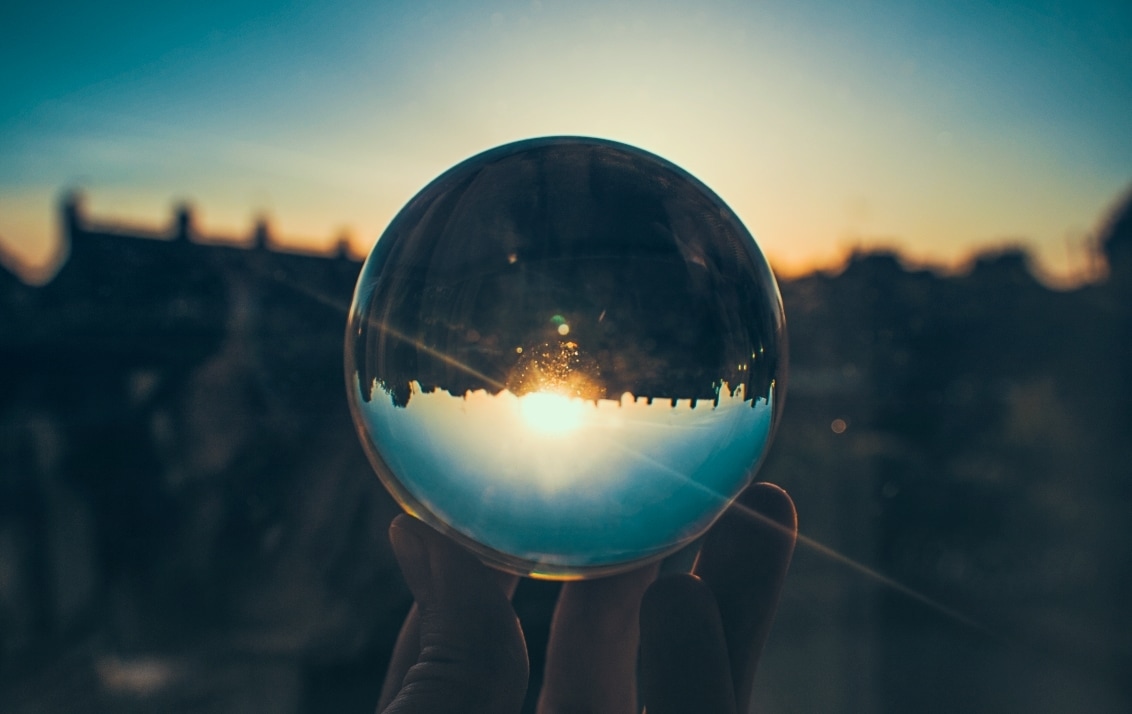
Now that I bought out the colours and made the shadows darker and bought out the colours more, all I have to do now is add a nice Colour Correction. To save time I have custom colour corrects saved as 3DLUTS. 3DLUTS are colour correction files that are on one layer instead of lots of layers, they are created after using 'Curves', 'Levels' and 'Vibrance'.
I duplicated and merged the layers again and added a 3DLUT, they are found under the Adjustments tab with a grid looking symbol. I used a Teal and Orange looking Colour Correction and changed the Opacity down to 90% so it wasn't too bright.
I duplicated and merged the layers again and added a 3DLUT, they are found under the Adjustments tab with a grid looking symbol. I used a Teal and Orange looking Colour Correction and changed the Opacity down to 90% so it wasn't too bright.
After looking at the image I realise the background isn't a very smooth blur, so I decided to duplicate the layers again and add an Iris Blur around the image to make the background have more of a smoother blur.


Final Image
I took a photo of a person in the class room as well just to see how it would turn out, using the same way of editing as I have done with the other photo. I personally don't think it works too well with the narrative I am aiming for, but I am glad I experimented because it could have been a different approach to the narrative.
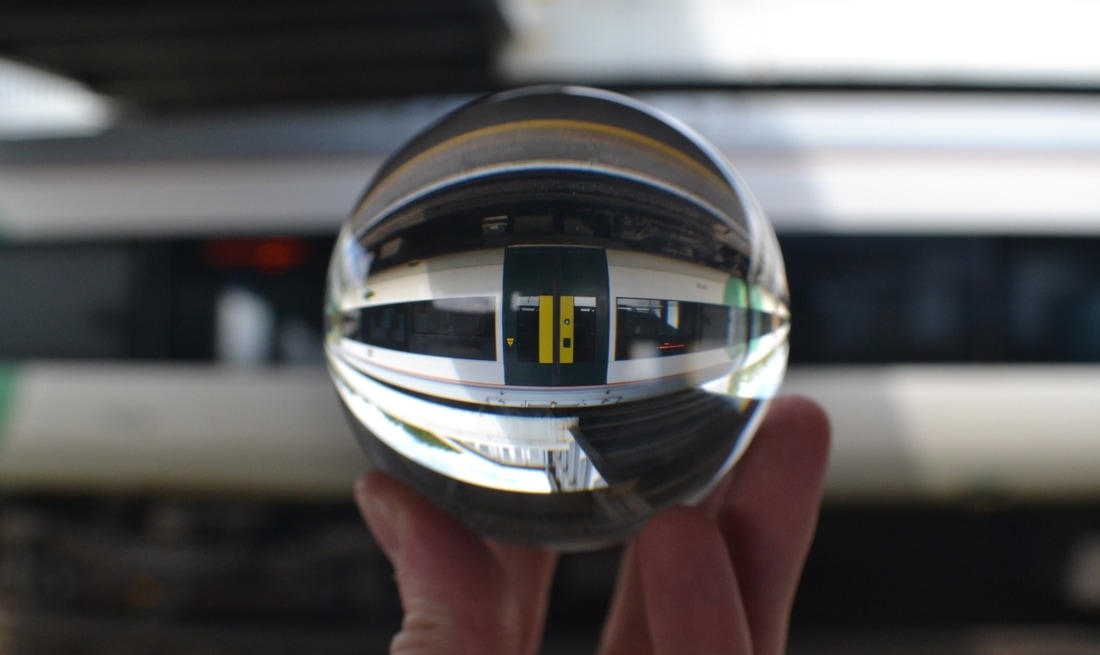
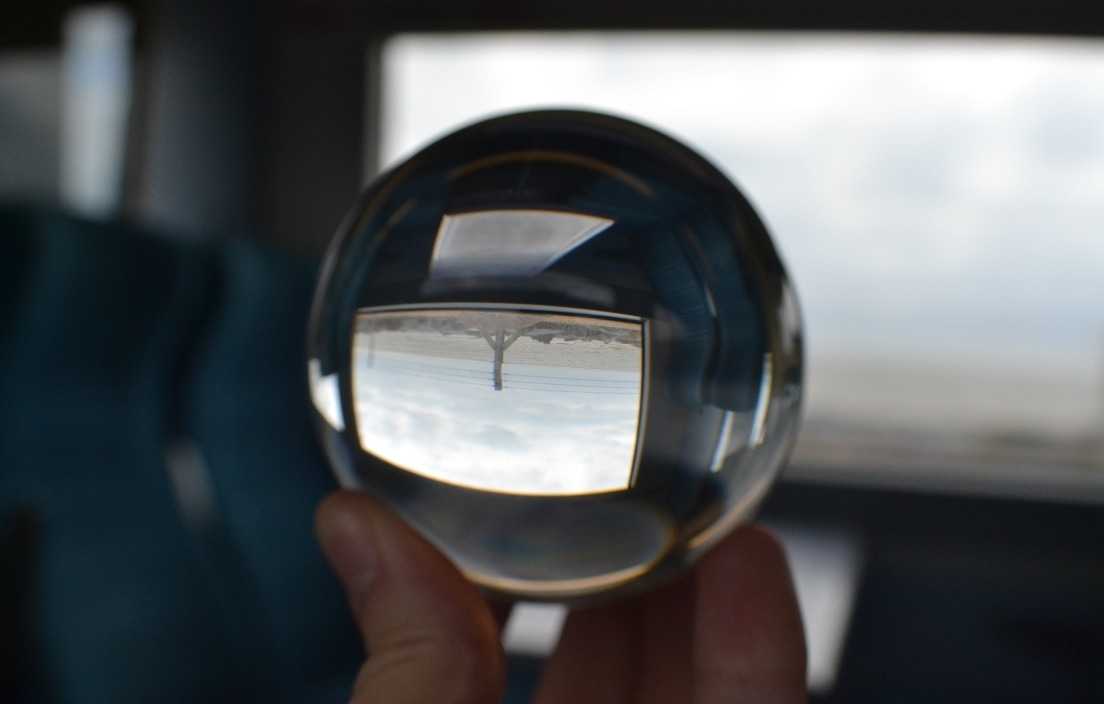
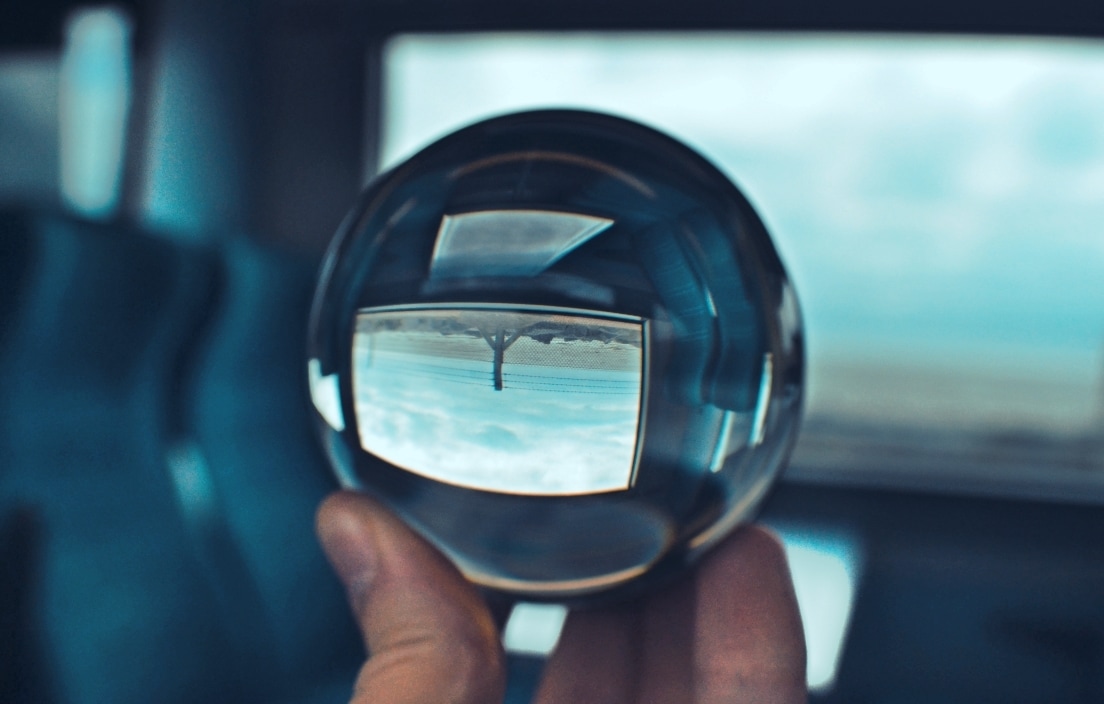
I also took a photo of the train before getting on it, this photo actually turned out really nicely but as an end project I don't know if it links with the narrative as much as the other photos. When editing the photo the background lighting and some of the colours stood out a bit too much making the viewer not focus on the ball as much. So I created a black and white layer but masked out the ball so only the ball had colour.
|
Original Photo
|
|
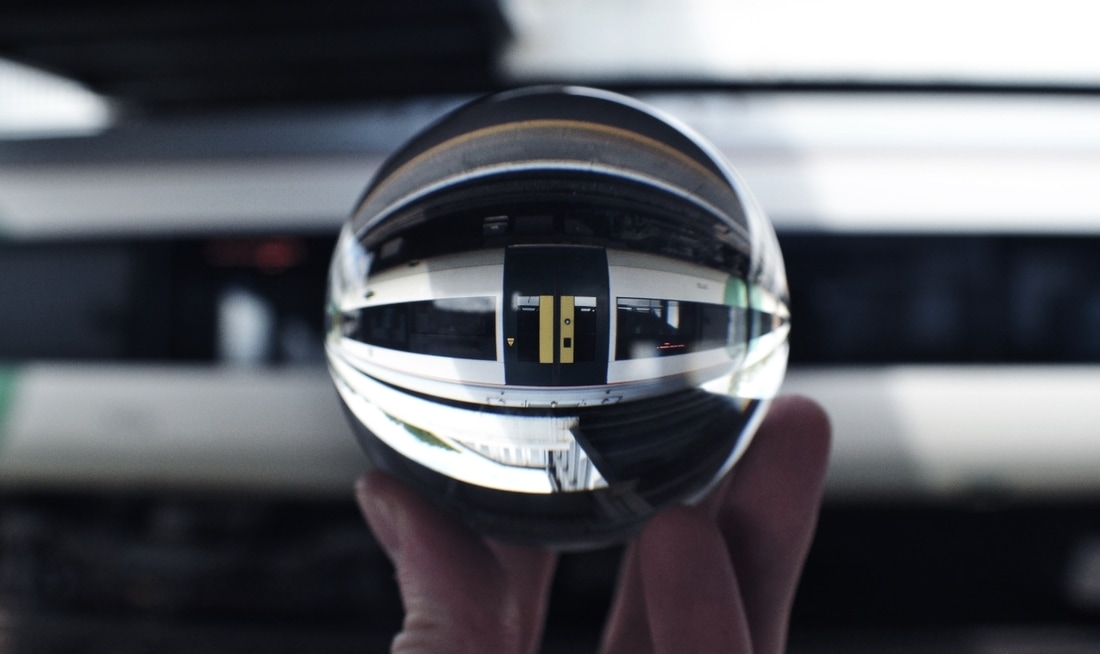
Colour Corrections without Black and White.
|
|
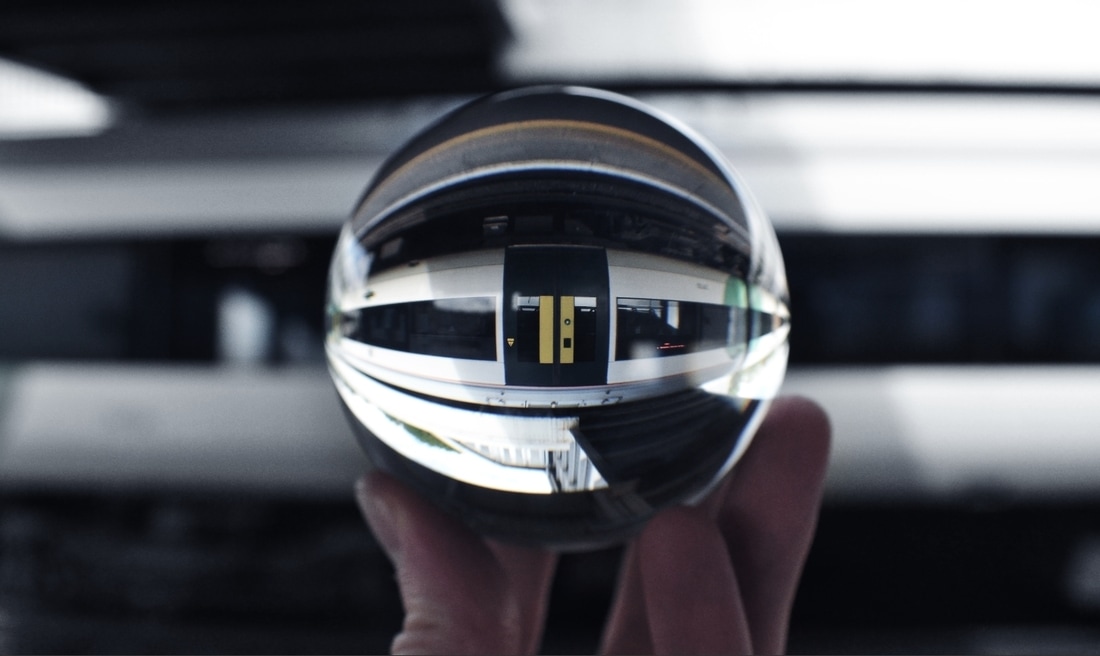
Final Image.
|
Before and after photos.
|
|
|
|
|
|
|
|
|
|
|
|
|
|
|
|
|
|
|
|
|
|
|
|
|
|
|
|
