
Creating the 3d models.
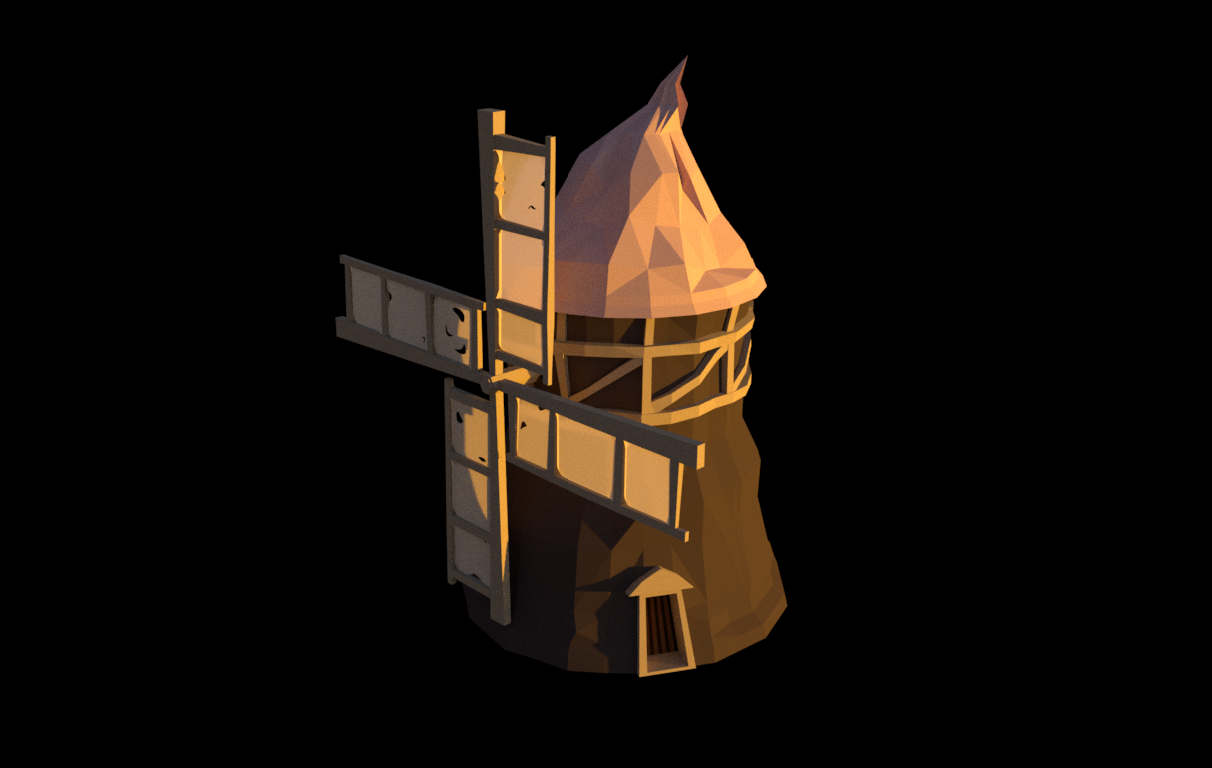
Creating my 3D models were not that hard. The hardest thing to model was the Windmill though, I had to create a very abstract like Windmill while keeping the Lowpoly look to it. What I did first was create a cylinder and extrude it up, I then made multiple subdivisions so that I could mess with the different Vertex's.

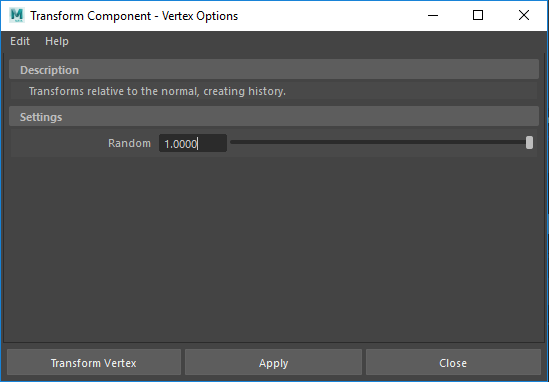
After creating the right size cylinder, but even if you have the size of the cyclinder wrong you can edit it in a minute. I then selected all the Vertex's and went to 'Edit Mesh' then 'Transform (options)'. I set the Random to 1, this makes it so that the vertex's will go in random directions when moving the move tool (X,Y,Z).

|
|
I went into the Side View to help me when selecting different layers of Vertex's. I wanted to stretch the Windmill higher, so what I did was move each layer of Vertex's higher.
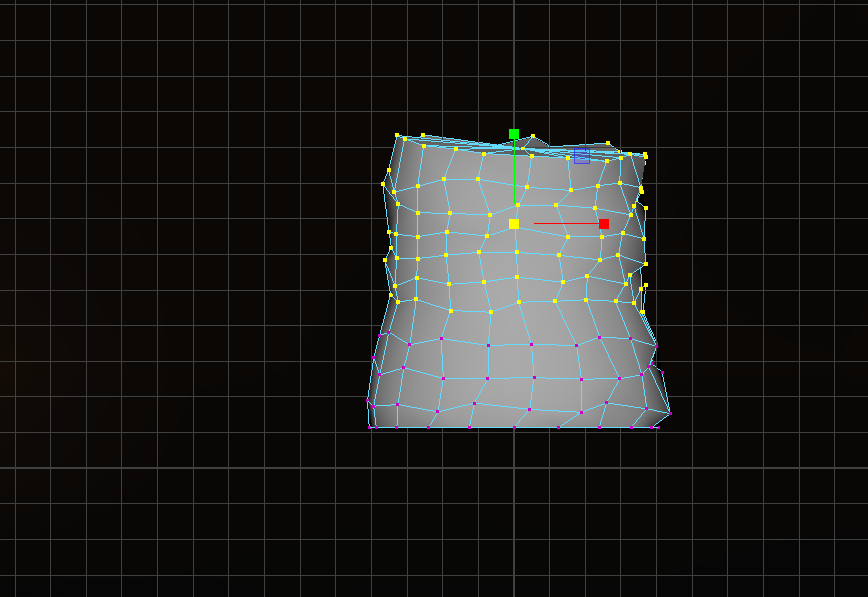

To make the top of the windmill body flat you need to select all the top vertex's and press 'R' for the scale tool, then push the yellow (Y) axis down towards the centre of the face. This will flatten the top.

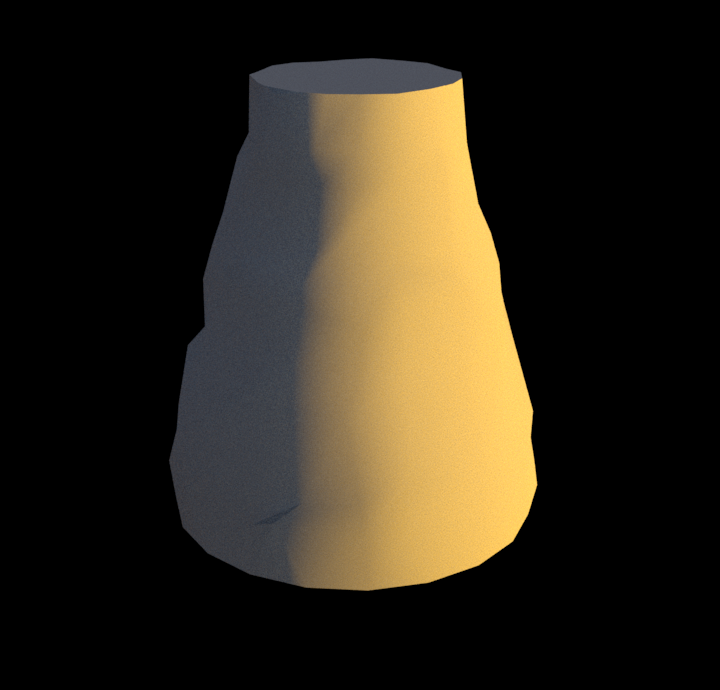
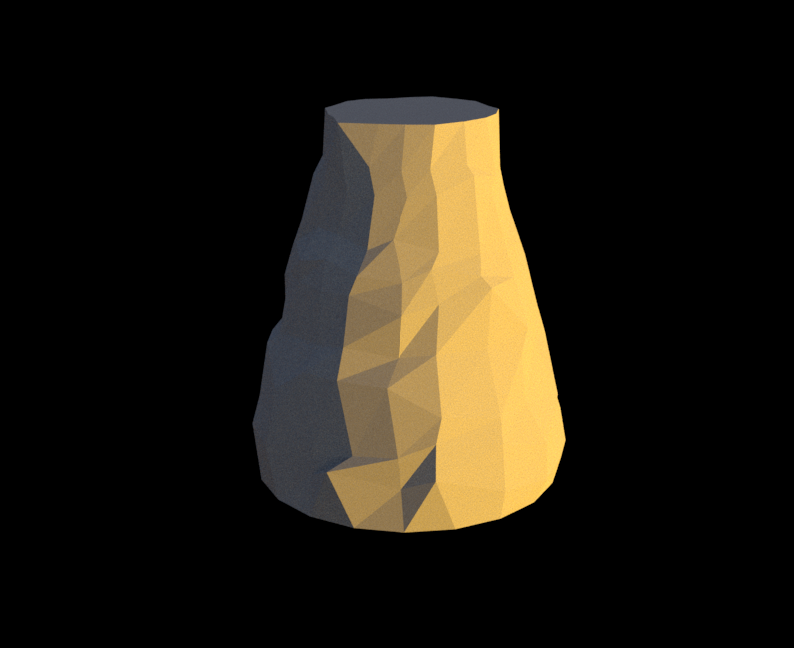
When looking at the model through the renderer, it doesn't seem to look Lowpoly even though we have very sharp edges. This is because of smooth shading, like i said on the Research Page, lowpoly has a very sharp shadow look to it, there are never any smooth shadows going over any models. So to create the Lowpoly look what you need to do is go into the object 'Attribute Editor' and go to 'Render Stats', underneath render stats you should see an option saying 'Smooth Shading', you need to untick that. That should then make your model lowpoly, but keep in mind you need to do this to every object that you import into Maya.
|

|
After spending a few hours modelling I finally finished creating the model, I also create the Sail and inside the said I used a plane mesh and turned it into a cloth this made it flop in the wind and give it a more windmill look. I chose brown as the body colour and pink as the roof colour because it looks like the best combination together.
Other models.
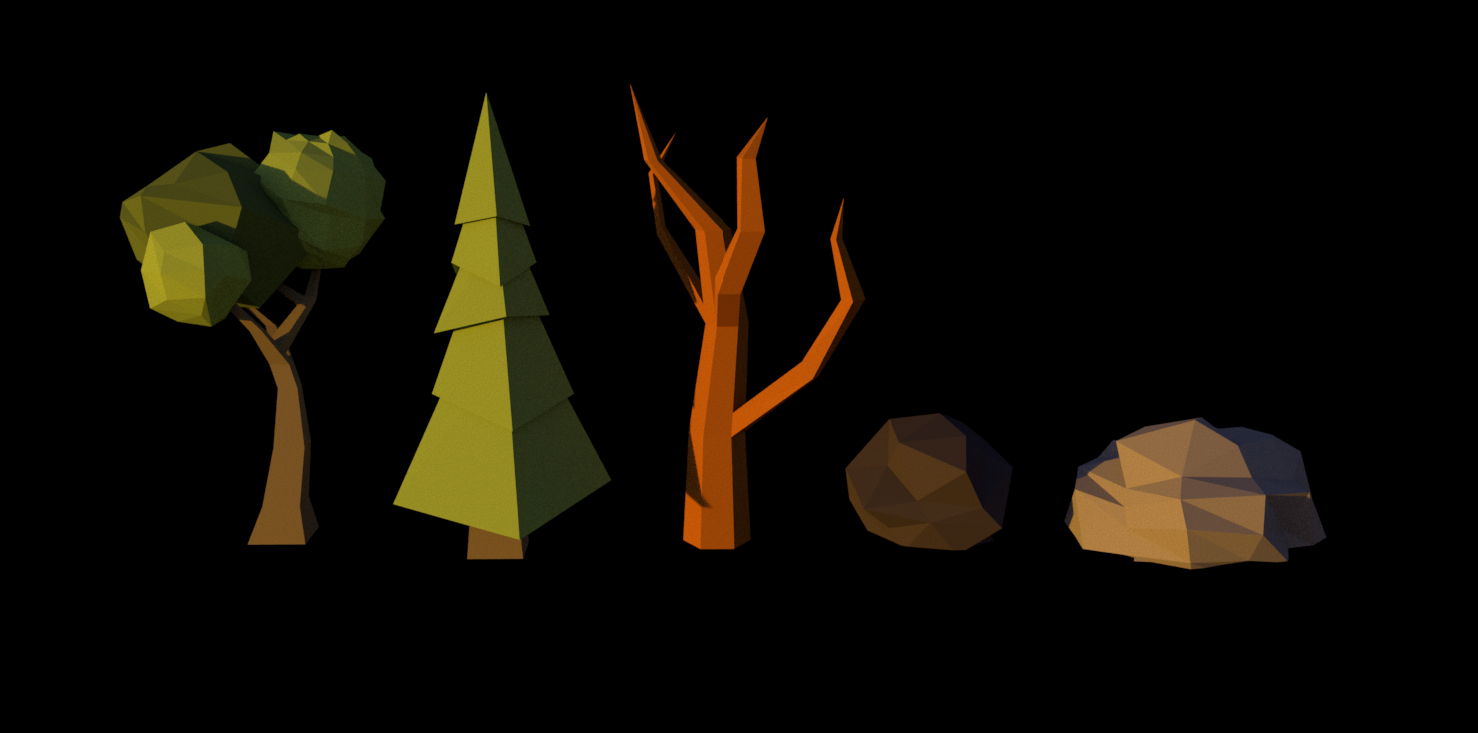
I created other models like the Trees, Rocks, Grass and Fences. They were very simple to create because all I had to do for the trees was create a cube then keep on extruding the top of it. For the Rocks I created a sphere and selected all the vertex's and did the random transform tool again. This made me chage the way the rock looked and I could make each rock different by just changing a couple Vertex's.
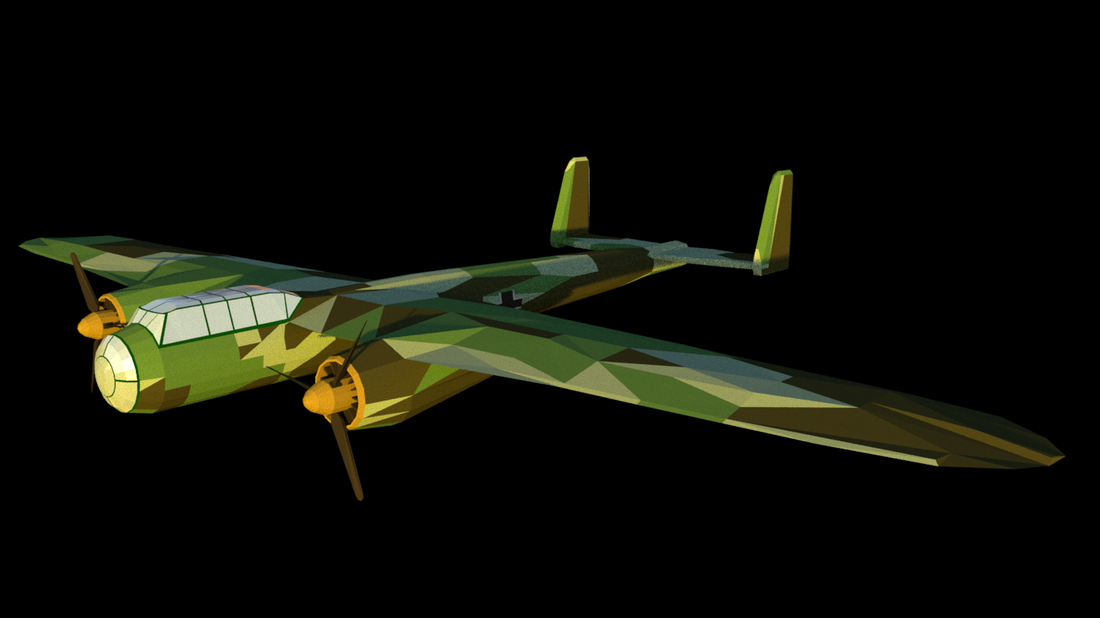
Creating the plane was a very hard challange because I had to try and make it look like a 'Dornier 17 German Bomber' while still having it look lowpoly. After a few hours and a lot of mistakes I managed to create the plane and it turned out really really well. I made it look camouflage by selecting different faces and assigning a different colour material to the face.
I created a reflective material for the windows of the cock pit, I didn't want to model inside because that would have been too much even though in the final video you won't be able to see inside the plane. So I decided to create a reflective material because thats the closest I could get to a real life cockpit window without modelling even more.
I created a reflective material for the windows of the cock pit, I didn't want to model inside because that would have been too much even though in the final video you won't be able to see inside the plane. So I decided to create a reflective material because thats the closest I could get to a real life cockpit window without modelling even more.
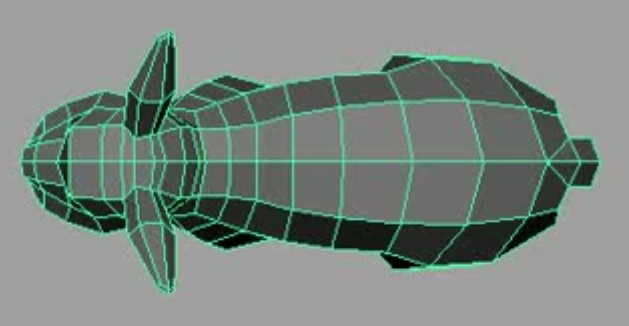
The last thing I modelled was the Bunny Rabbit. This was really fun to mess with because I had to animate the bunny to hop around and that was very complicated and hard to do. But when modelling the bunny it was fairly easy, I used reference images to help me model the rabbit.

|

|
|

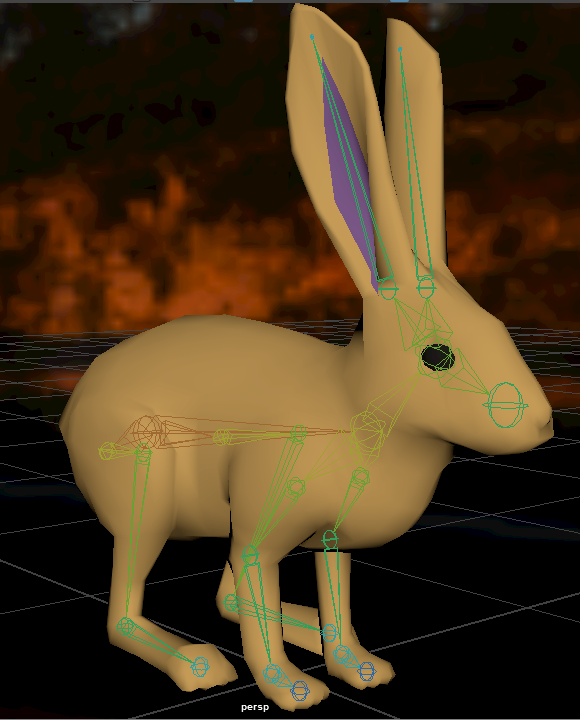
Rigging the Rabit was very easy to do. Rigging is like putting a spin inside of a piece of flesh, with rigging you add the joints and bones. And after you have put that inside of the Rabbit you can link the rabbit up with the Skeleton/Rig and then you have the capability to move each part of the body. Animating the rabbit took me around about 6 hours to do, because you have to move each point and keyframe each little movement and that is a very time wasing process.
|
THE RIG/SKELETON INSIDE THE RABBIT |
|
MOVING THE RIG |
|
|
AFTER KEYFRAMING THE MOVEMENT |
|
BEGINNING ANIMATION OF THE RABBIT |
|
RENDERING
If I was to render this animation out at home, it would have taken me around about 80 hours to render, and thats not even in full quality.
The way I rendered this animation was by using a render farm, a render farm is a bunch of servers/computers all working together to render out frames. So if my 1 CPU takes 6 minute to render a frame, the renderfarm will use 20 CPU's to render that frame instead.
It is a great way of getting your animations rendered fast but it comes at a down side and that is pricing. Rendering on a renderfarm can cost you a lot of money depending on the quality, length and resolution.
The animation for the VR HISTORY ADVERT took me 6 hours to render on the render farm and cost me about £50.
I was rendering at 1920x1080px with the sampling at 6 and at 25 fps.
The animation for the VR 360 ANIMATION took me 13 hours to render on the render farm and cost me about £120.
I was rendering at 4096x2048px with the sampling at 6 and at 25 fps but rendering 360.
The reason I have to render in such high quality is because of the 360 degrees. Because it is 360 it will stretch the image/pixels to create a 360 degree video.
If I wanted a 360 video at 720p I would need to render at 4k quality.
If I wanted a 360 video at 1080p I would need to render at 8k quality.
